Building Our Content Model - Directories, Categories & Fields
With ExpressionEngine installed and a clear idea of what we're going to build from our Content Model from Part 3, we can go ahead and start building out our Content Model in ExpressionEngine. This will be a pretty long but very practical installment to the tutorial that will walk you through step-by-step (and sub-steps!) how to create what we planned in Part 3. So let's get started!
In This Article:
- Step 1 - Prepare the Upload Directories
- Step 2 - Create a Category Group for the Work Channel
- Step 3 - Create Individual Fields
- Step 4 - Field Groups
Step 1 - Prepare the Upload Directories
As I mentioned before, it's way easier to set these up before creating the Fields where we want to force uploaded files to go to a certain place. Repeat the following steps 1-7 for each of our 4 directories we planned in Part 3.
REMINDER: In Part 3, the directories we planned were:
- Hero Banners used for images only with one Manipulation
- Work Images used for images only, but we'll setup two Manipulations
- Page Images used for images only, but no pre-defined Manipulations* (we'll do them on-the-fly in the templates)
- Documents, all file types to hold PDFs, etc
- Create the directory in the file system within your webroot where you want images to be stored, e.g.
/images/uploads/work- this can be wherever you want, but any files uploaded this directory will be accessible from that physical location, e.g.example.com/images/uploads/work/sample.jpg
- Log in to the Control Panel, then go to
Filesin the main menu, then clickNewnext to the Upload Directories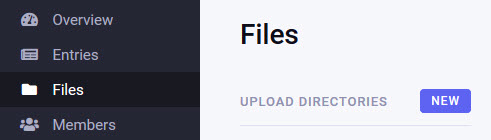
- Add the name for the directory

- For the Upload directory field, use
{base_url}plus the directory name, eg{base_url}images/uploads/work
- Similarly, for the Upload path field, use
{base_path}plus the directory name eg{base_path}images/uploads/work
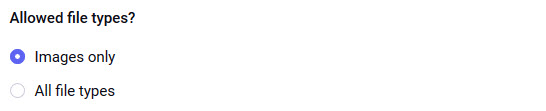
- For directories used only for images, leave the allowed file types set to 'Images.' For our Documents directory, set it to allow 'All file types'
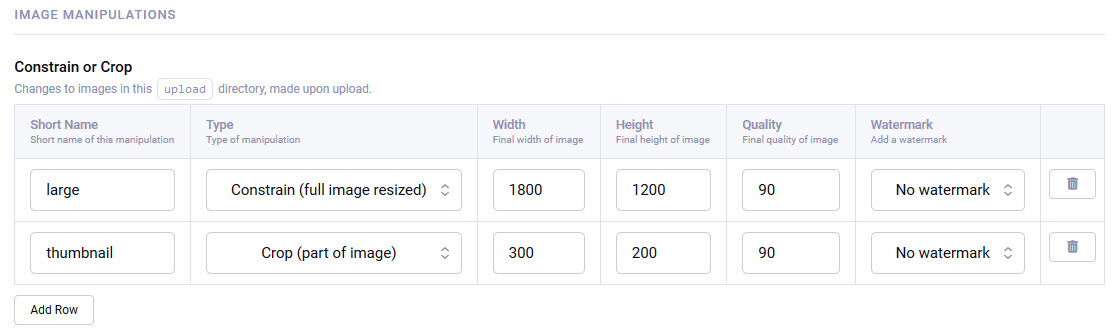
- Add appropriate Manipulations - you can always come back later and add more Manipulations, but go ahead and set up the ones you know you want now
- For Hero Banners, I'm creating a Crop named "large" with the width set to 1110 and height 500
- For Work Images, I'm creating two again, this time one Crop which I'll use for thumbnails, and one Constrain which we'll link to for the full view
- "large", Constrain, width 1800, height 1200
- "thumbnail", Crop, width 300, height 200
NOTE: Using Constrain and only supplying one value will only constrain the generated image against that value. Supplying both values will constrain against both, but in either case, the aspect ratio of the image will never change.
- For Page Images, we won't create any fixed Manipulations, but instead, we'll use on-the-fly image manipulations, which is new in EE6.
Tip: Upload Directories are ordered alphabetically whenever they're listed, so if you want them in a specific order (say to group image vs document directories), start the names with numbers, e.g., 1. Hero Images, 2. Work Images, etc.
NOTE: The original image the editor uploads is always maintained, so it's also possible to go back to a File Upload Directory's Manipulations and change the configuration later, then synchronize the whole directory to re-create the different generated version from the original file. You do this by going to
Files, editing an existing directory with the pencil icon that appears when you hover over a directory name, then using the 'refresh' icon button in the top-right.

Step 2 - Create a Category Group for the Work Channel
You could do this simultaneously as creating the Channel itself, but given we've already planned for it, we'll go ahead and do this now, so it's ready to just assign when we come to create the Work Channel. It's useful to know because this is how you can manage Categories after launch too.
- In the Control Panel, go to
Categoriesfrom the main menu and clickAdd Newto add a Category Group
- Give the category group a name (in our case, "Work") and then
SaveNOTE: You'll see the
Savebutton has a dropdown with additional ways to save something in EE but with additional actions: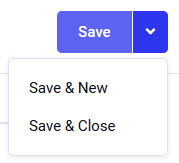
The normal
Savebutton will save what you're working on but leave you on the edit page so you can make additional changes after you save.Save & Newwill save whatever you're editing and open the screen to create a new one (regardless of what that is - it could be an entry, category, category group, etc.). ThenSave & Closewill save what you're editing but close that screen and typically take you back up a step depending on what you're editing. In this case, if youSave & Closeinstead ofSave, it'll take you to the Categories main page, which because there's only one Category Group, will go ahead and select it for you. - Click the "Work" label in the Category Groups sub-navigation to see the categories in that group (which there aren't any yet)
- Click
New Categoryto add a category to the group, providing at least a category name, which will auto-generate the category's URL Title, which will be used in the URLs, e.g.example.com/work/category/graphic-design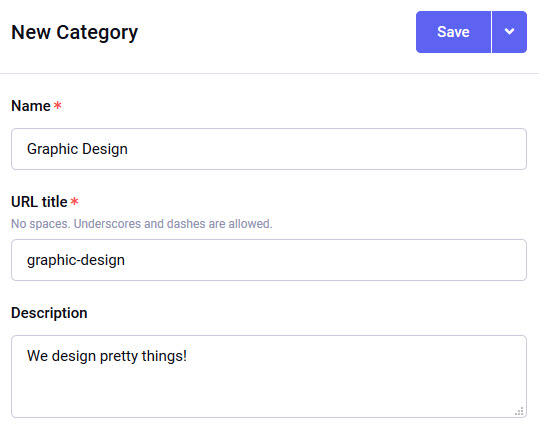
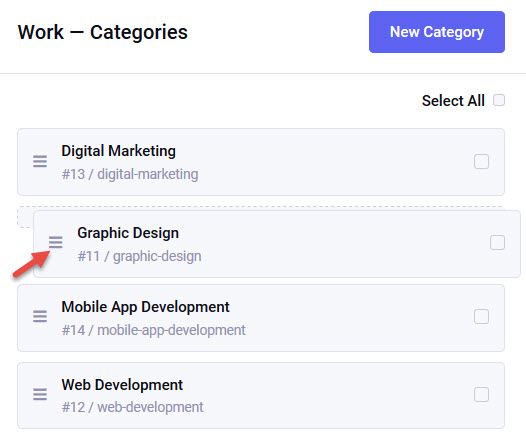
- Create as many categories as needed, and of course, you can come back here to add more later - make sure to add 'Descriptions' to your categories too, as we'll pull these through on the Work landing page where a specific category is selected.
NOTE: You can re-order and nest categories by clicking and dragging the hamburger icon:
Step 3 - Create Individual Fields
Particularly with new projects where you've done the planning and know what Fields you need, it's worth creating all the Fields before creating Channels, but of course, you can always create new Fields later and associate them with Field Groups or Channels directly later on. EE also allows you to create Fields and Field Groups on the fly as you're creating a Channel, and you may prefer to work this way, so for this tutorial, I'll use both methods. First, we'll create the majority of our Fields and Field Groups, but we'll deliberately skip the Homepage Fields so that in the next step, we can add those at the same time as creating the Homepage Channel. Similarly, with our two Field Groups (Work and Pages), we'll create Fields first for one and the group for the other. In both cases, which way you do it doesn't matter so long as everything is associated correctly.
Creating Fields
Go to the Developer from the main menu, then go to Developer > Fields :
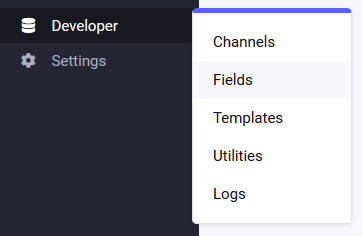
and note we have no Fields or Field Groups yet. So first, we'll create some stand-alone fields that aren't in any groups. For each one, the process is:
- From
Developer > Fields, click the blueNew Fieldbutton in the top-right
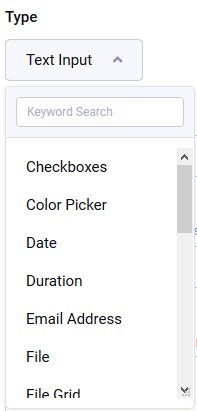
- Choose the type of field, which determines the type of content. You should read up on the available fieldtypes in the documentation
- Add a 'Name' for your field - this is what the content editor will see as the field label when editing content. Also, note the
short_nameis automatically generated - this is what we use in the templates to access that field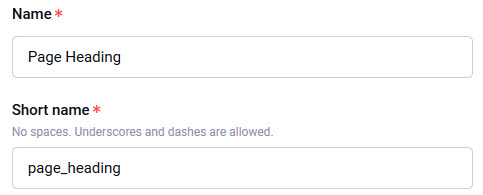
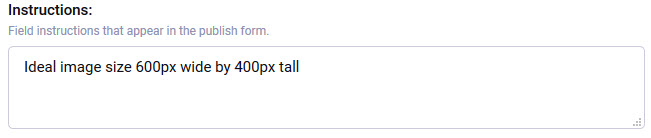
- Add any Instructions or settings you want:
- Instructions show between the field label and the actual field on the Edit Entry screen and are used for giving additional information, for example, stating the ideal image size for images:
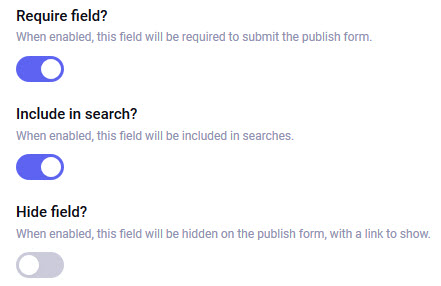
- Some settings such as 'Require field?', 'Include in search?' and 'Hide field?' are default field settings that apply to any type of field:
- The rest of the settings available will vary depending on the type of field you're using, so look through those carefully for each field you create and set them appropriately
- Instructions show between the field label and the actual field on the Edit Entry screen and are used for giving additional information, for example, stating the ideal image size for images:
- Once done, click the
Savebutton at the bottom - remember, using the dropdown and choosingSave and Newwill save the current Field and create a new one allowing you to quickly add several Fields in a row.
TIP: Even if the site you're building doesn't have a search function, pretend it does when building out the Fields and set the 'Include in search?' toggle accordingly right from the start - this way, when the client inevitably asks for a search function, you're already set. Make sure to set 'columns' inside Grid and File Grid fields to be searchable too.
For our specific example, use the same process above to create the following Fields. Unless otherwise specified, use the default settings/options. Remember, Grid and File Grid fields allow us to create sub-fields or 'columns,' so I've defined those below too:
- Page Heading (Text Input, Include in search)
- Page Intro (Rich Text, Include in search)
- Map Embed Code (Textarea)
- Address (Grid, Include in search, Max rows 1, columns below)
Note: Each Grid field must have at least one 'grid field' (or sub-field). When creating a new Grid field, the first sub-field is there for you to populate, then use the
+button to add additional ones. You can also expand/collapse, reorder, duplicate and delete columns using the little icons: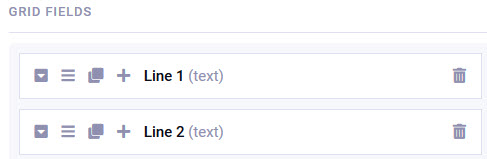
- Line 1 (Text Input, Required, Include in search)
- Line 2 (Text Input, Include in search)
- City (Text Input, Required, Include in search)
- State (Text Input, Required, Include in search, Max characters = 2) - you could use a Select Dropdown field here if you'd prefer, but you'd have to go through and manually set up the options available in the dropdown.
- Zip Code (Text Input, Required, Include in search, Max characters = 10)
NOTE: In this example, we've made some of the columns (or sub-fields) 'required,' but not the main Grid field itself. This means that content editors could omit adding an Address completely, but if they do 'add a row' to the Grid field, then the columns inside that row we've marked as required would indeed be required… but they could delete the whole row and be allowed to save.
- Departments (Grid, Include in search, columns below)
- Name (Text Input, Required, Include in search)
- Phone (Text Input, Required, Add Instructions: "Format: XXX-XXX-XXXX", Include in search, Max characters = 12)
- Email (Email Address, Required, Include in search)
Fields for the Page Builder
While we're creating individual fields, we'll also go ahead and create the fields that will be accessible to our Page Builder Fluid Field. Remember that a Fluid Field can be assigned to a channel and give the editor the ability to add different fields in whatever order they'd like. So go ahead and repeat the process above for the following Fields, but manually update the short_name to start with "ff_" so we can identify fields intended to be used inside a Fluid Field:
- Centered Heading (Text Input, ff_centered_heading, Include in search)
- Rich Text (Grid, ff_rich_text, Include in search, Min rows 1, Max rows 1, columns below)
Note: We're setting both the minimum and the maximum rows to 1 deliberately - because this field will be available as a Fluid Field, the user can add multiples in a row if they wish - we're just using the Grid to allow us to group a few different Fields as one.
- Text (Rich Text, Required, Include in search)
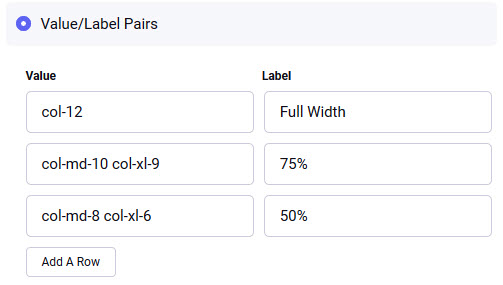
- Width (Select Dropdown, options using Value/Label Pairs below)
NOTE: For basic layouts, I plan to use the Bootstrap framework, so for the Width options here, we're going to set the value based on the class that Bootstrap Grid uses within a 'row' and then add that value as a class directly in the template. You'll see this working when we get to building this out in the templates.
Set Value/Label Pairs to:
- col-12 / Full Width
- col-md-10 col-xl-9 / 75%
- col-md-8 col-xl-6 / 50%
- Background (Radio Buttons, use the 'Populate the menu manually' option with options below)
NOTE: Here, we'll use Radio Buttons just so you can see a different fieldtype, and we'll populate the items differently, too. Instead of using Value/Label Pairs, we'll populate the radio options manually and add classes in the template based on the setting. This is just another way to do it.
Select 'Populate the menu manually and add the following on separate lines:
White
Black
Grey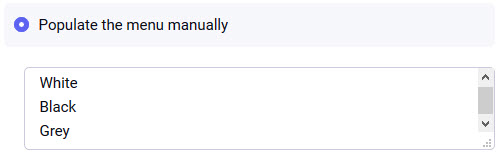
- Center Content Container? (Toggle, add Instructions "No effect if 100% wide.")
NOTE: This is just to showcase the Toggle field, which is a Boolean value that we can query in the templates.
- Rich Text & Image (File Grid, ff_rich_text_image, Instructions: "Minimum image width 540px, height can vary." Include in search, Min rows 1, Images only, Page Images directory, additional columns below)
NOTE: Because this is a File Grid, the first column is always a file. In this case, we'll be using an image, so we select 'Images Only' for the allowed file types, and we'll select the Page Images Upload Directory we created earlier.
- Image Caption (Text Input, Required)
- Text (Rich Text, Required, Include in search)
- Image Position (Select Dropdown, options using Value/Label Pairs below)
- right / Right
- left / Left
- Featured Work (Relationships, ff_featured_work, relate to Work Channel only, Maximum entries leave blank)
NOTE: Relationship fields allow us to 'relate to' - and pull in - other entries. Our primary use case for this Field is to highlight specific Work entries on the Services sub-pages.
- Document Downloads (File Grid, ff_document_downloads, All file types allowed, Documents directory)
NOTE: This time, our File Grid will be holding documents, so we'll utilize our Documents Upload Directory we created earlier and allow 'All' filetypes.
- Title (Text Input, Required, Include in search)
- Summary (Text Input, Include in search)
Create the Page Builder Fluid Field Itself
Now that we have our Fields created, which we want accessible to the Page Builder, we can create the Page Builder field itself. Following the same steps as before:
- Again, go to
Developer > Fieldsthen click the blueNew Fieldbutton - Select 'Fluid' from the Type dropdown
- Name the field "Page Builder"
- Turn on 'Include in search'
- Under 'Field Options', check the fields we just created above from the list, so all the Fields where the short name starts with "ff_" are selected:
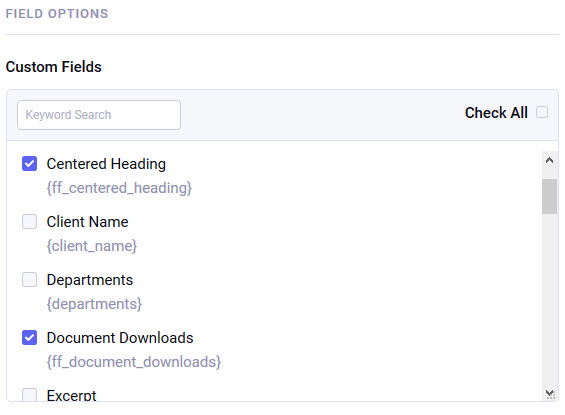
Save & Closeby using the dropdown next to theSavebutton
NOTE: A Fluid Field is just like any other field in that it must be assigned to a Channel (or a Field Group that is assigned to a Channel) before it can actually be used.
Step 4 - Field Groups
In our planning stage, we defined two Field Groups we would utilize, so we'll create those next. For our Pages Field Group, all the fields already exist, so it's just a matter of assigning all the fields while creating the group:
- In the Control Panel, go to
Developer > Fields, then under the "Field Groups" heading in the left sidebar, click the blueNewbutton: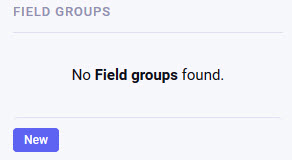
- Set the name to "Pages" and check the fields we planned to use here: Page Heading, Page Intro and Page Builder:
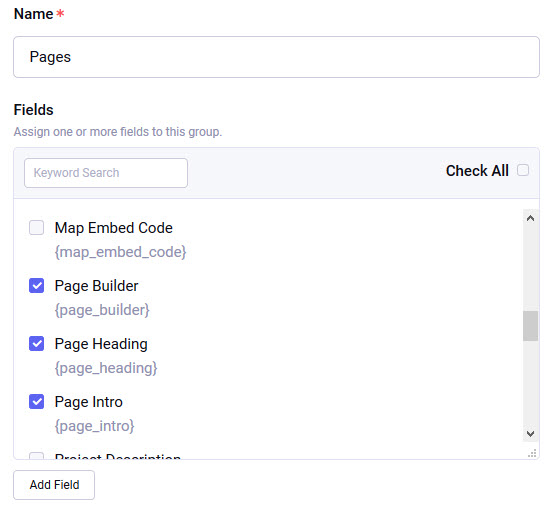
Save & Close- it's that simple!
For the Work Field Group, we deliberately didn't create the fields individually earlier to show you how EE lets you do this on the fly:
- Again, go to
Developer > Fieldsand again, under the "Field Groups" heading in the left sidebar, click the blueNewbutton
- Set the name to "Work" and this time click the grey
Add Fieldbutton at the bottom of the list of existing fields:
- Note the slide-in New Field form that looks exactly like what we used earlier via
Developer > Fields > New Field- adding a Field here automatically creates the Field and includes it in the group we're creating.
Using this method, we'll go ahead and create all of our Work Channel Fields. Looking back at our Content Model plan though, we'll be using several of EE's Default Fields, so the Project Title, Entry Date, and Categories don't need to be created. Additionally, we will be re-using the Page Heading field we created earlier, so we only need to create the following:
- Excerpt (Text Input, Required, Include in search)
- Client Name (Text Input, Required, Include in search)
- External Link (URL, Include in search)
- Project Description (Rich Text, Required, Include in search)
- Work Images (File Grid, Instructions: "Ideal image size 1800px x 1200px.", Required, Min rows = 1, Images Only, Work Images directory, columns below)
- Caption (Text Input, Required, Include in search)
NOTE: The reason we explicitly named this field Work Images is that we've limited it to only using the Work Images Upload Directory. If you needed another field for images that used a different directory, you'd need to create another separate field.
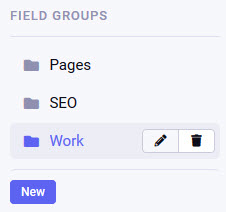
Remember we also want to re-use the Page Heading field we created earlier, so once you're done adding new fields to the Work Field Group, go back to Developer > Fields and in the left sidebar you can see the two Field Groups we created. Clicking on the name allows you to see (and search if you need to) the fields that are assigned to that group, but the little pencil icon button that appears when you hover over the name is where you can go to edit the field assignments:
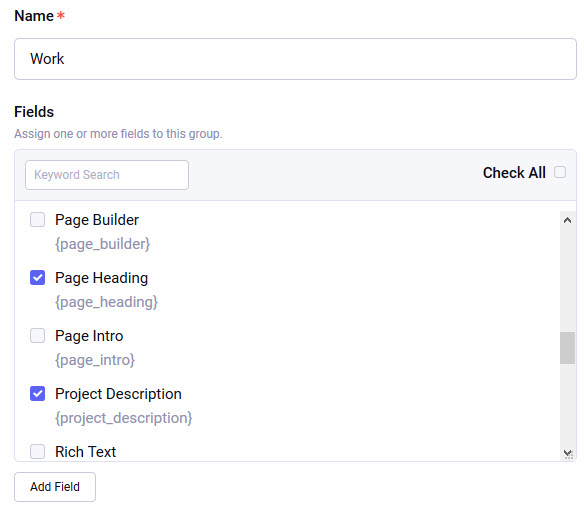
So the final step here is to click the pencil icon next to the Work Field Group and make sure Page Heading is also checked in the list of Fields assigned to this group, then Save the Field Group changes:
NOTE: Remember, I've deliberately not yet created the Field for the Homepage Hero Carousel simply so I can show you the alternative way of creating Fields while creating a Channel, which we'll do in the next chapter.
What's Next?
So now we have all of our Fields setup. In the next installment, we'll continue building our Content Model by setting up the Channels and actually adding content so we have something to output in our templates. We'll also take a look at "Publish Layouts," which are EE's way of letting you organize how the Fields in each Channel appear when editing an Entry.
Comments 0
Be the first to comment!