Create an Order Manager Dashboard using Channel Forms
Create an Order Manager Dashboard using Channel Forms
Wouldn’t it be great if you could view and edit all your Ecommerce Orders in one place, in a concise format, without distractions?
Need to give your client’s order management staff a cleaner and simpler way to process website orders? The Channel Form tools in ExpressionEngine can open up a whole new set of options when it comes to processing order data controlled by EE.
Whilst the user interface in ExpressionEngine is very easy to use, managing order data within ExpressionEngine itself can be overwhelming and confusing for the average user, so we like to give clients some additional external screens to manage website content and data, to make life a little easier or even to achieve something not currently possible within EE itself.
We use Channel Forms to build custom-designed Dashboards, to help clients:
- view and edit customer orders on their ecommerce sites.
- manage their site’s main SEO content and tags.
- manage quote requests, job records or customer relationships.
- and more…
Ecommerce Order Manager Dashboard
Jumping in and out of editing Entries within ExpressionEngine is fine, and the Order Manager tools provided by the EE ecommerce plugins, such as CartThrob, are getting better all the time, but sometimes it’s necessary to provide simpler day-to-day tools.
An Ecommerce Order Manager Dashboard, arranges all the Order Entries from a specified Orders Channel into a standalone frontend and just presents the basic order info in a single view, so you can easily process the orders. This helps improve order processing efficiency and helps prevent any data from being accidentally edited, prior to Shipping.
Simple Order Manager Dashboard Example
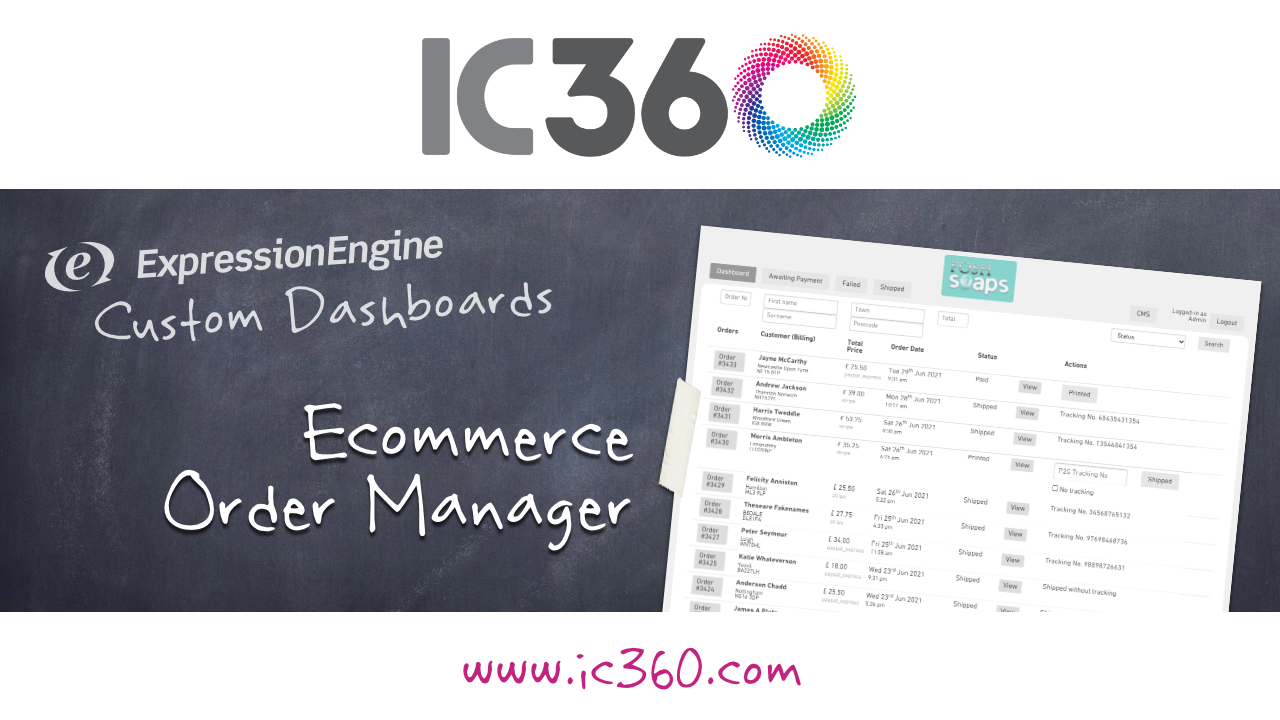
In this screenshot, you can see an Order Manager Dashboard displaying all the most recent orders for a website selling soap products. This includes key data such as customer name, customer location, total amount, date/time, order number, and the order status.

You can see it simply list all the orders with the latest at the top, with a “View” button to display an invoice or packing sheet, and a Status change dropdown menu with Update button. The Order Number button on the left, links through to an Edit screen, but I wont cover that functionality here.
The main code used to output this information, which is styled using the Bootstrap CSS framework, is as follows:
{exp:channel:entries channel="orders" status="Paid|Printed|Shipped" dynamic="no" orderby="date" sort="desc"}
{exp:channel:form channel="{channel_short_name}" entry_id="{entry_id}" return="dashboard"}
<div class="row">
<div class="col-md-1"><a href="{url_title_path="edit"}">{title}</a></div>
<div class="col-md-2">
<strong>{order_billing_first_name} {order_billing_last_name}</strong>
<span>{order_billing_city}<br>{order_billing_zip}</span>
</div>
<div class="col-md-1">£ {order_total}</div>
<div class="col-md-2">{entry_date format="%D %j<sup>%S</sup> %M %Y<span>%g:%i %a</span>"}</div>
<div class="col-md-1">{status}</div>
<div class="col-md-1"><a href="{url_title_path="view"}" target="_blank">View</a></div>
{if status == “Paid”}
<div class="col-md-3">
{status_menu}<select name="status">{select_options}</select>{/status_menu}
<button type="submit">Update</button>
</div>
{/if}
</div>
{/exp:channel:form}
{/exp:channel:entries}
You can see this code mostly just outputs data already stored in the database, but there is a simple Status dropdown menu and Update button, which will submit the Channel Form to change the order status from ‘Paid’ to ‘Shipped’, or whatever you like.
Detailed Order Manager Dashboard Example
However, I find there is a need for more data on this Dashboard and for a little more logic, to give this screen more features.
In the following screenshot, this is how the Dashboard looks if we introduce more options for each Order’s row.

Each order summary row now includes:
- The payment gateway used.
- The tracking number for the Shipped orders.
- Quick status change buttons (Printed, Shipped).
- Auto-send of order status change email, when changed to Shipped, using CartThrob’s Notifications.
Additionally, there are separate screens available to list orders of a specific Status, such as “Awaiting Payment” or “Failed”. These use essentially the same {exp:channel:entries} code loop, but have the required Status set in the Parameters.
To achieve this added functionality, the main code is now as follows:
{exp:channel:entries channel="orders" status="Paid|Printed|Shipped" dynamic="no" orderby="date" sort="desc"}
{exp:channel:form channel="{channel_short_name}" entry_id="{entry_id}" return="dashboard"}
<div class="row">
<div class="col-md-1"><a href="{url_title_path="edit"}">{title}</a></div>
<div class="col-md-2">
<strong>{order_billing_first_name} {order_billing_last_name}</strong>
<span>{order_billing_city}<br>{order_billing_zip}</span>
</div>
<div class="col-md-1">
£ {order_total}
<span>{order_payment_gateway}</span>
</div>
<div class="col-md-2">{entry_date format="%D %j<sup>%S</sup> %M %Y<span>%g:%i %a</span>"}</div>
<div class="col-md-1">{status}</div>
<div class="col-md-1"><a href="{url_title_path="view"}" target="_blank">View</a></div>
{if status == "Paid"}
<div class="col-md-3">
<input type="hidden" name="status" value="Printed" />
<button type="submit">Printed</button>
</div>
{if:elseif status == "Printed"}
<div class="col-md-2">
<input type="text" name="order_shipping_tracking" id="order_shipping_tracking" value="" placeholder="Tracking No" />
{field:order_shipping_notracking}
</div>
<div class="col-md-2">
<input type="hidden" name="status" value="Shipped" />
<button type="submit">Shipped</button>
</div>
{if:elseif status == "Shipped"}
<div class="col-md-2">
{if order_shipping_tracking}{order_shipping_tracking}
{if:else}Shipped without tracking{/if}
</div>
{/if}
</div>
{/exp:channel:form}
{/exp:channel:entries}
The small amount of logic {if}{if:else}{/if} used with the Entry Status, is just there to output the desired content or form field, depending on the current Status of the order. Used alongside the submit button and a hidden Status field, the order’s Status can be changed with a single click.
The next step?
This is just the tip of the iceberg, where Dashboards and Channel Forms are concerned. There are so many other options and uses, that they can be utilised for, to help in so many situations.
With this Order Manager Dashboard, for example, I have also provided the following features and functions:
- Order search.
- Order editing.
- Customer (member) management.
- Custom reports.
Have a go yourself and see how useful they can be. And, of course, if you get stuck, you can always check out the EE Docs for help with Channel Forms or reach out to the community for help!
Comments 2
benoitlemay
Hi there, Can we use ajax & channel form .. to avoid the reload after an update?
IC360 (Oliver Cannell)
Hi benoitlemay, Yes I’m sure this is possible, but I haven’t touched Ajax yet… although I’ve seen it in action a number of times. It’s something I will get to at some point - and this CartThrob Docs page is where I’ll start. Hopefully this is of some help. 😊 https://www.cartthrob.com/docs/designing-with-cartthrob/ajax/index.html