Installation & Basic EE Setup
As mentioned in the Overview, I'm assuming you know how to set up a development environment and have PHP and MySQL/Percona available. This tutorial won't cover how to set up the environment, or even installing EE as this is well documented already and I'm deliberately not mentioning software versions or system requirements because those tend to change (shocking!) and are well documented already. If setting up an environment is a struggle, let us know and perhaps we'll do a separate tutorial or find one that exists already, and link to it - that part is completely CMS agnostic.
In This Article:
- Step 1 - Install EE
- Step 2 - Implement Recommended Best Practices
- Step 3 - Set and Review Basic EE Settings
Step 1 - Install EE
I'm not going to reinvent the wheel here but instead let EE's own guide on how to install EE walk you through this process. One thing to note though is that for this tutorial, you don't want to install the 'default theme' - to follow along, you'll want a totally blank installation:

NOTE: Feel free to set up another site where you do install the default theme at installation - it's worth reviewing how others build in EE too because, as I've said before, there are lots of different ways to do things in EE, so someone else's perspective might be just what you need. This seems like a good place to draw attention to the EE Slack Channel - there are lots of friendly people there (myself included) who are happy to answer questions and give suggestions.
For this tutorial, I've set up EE to run from the domain example.com, and I'm using my local 'hosts' file to force the DNS. Your setup can, of course, use whatever domain, subdomain, or IP you'd like, but throughout this tutorial, just remember I'm using example.com, so that's what I'll refer to. You can substitute for your setup as necessary.
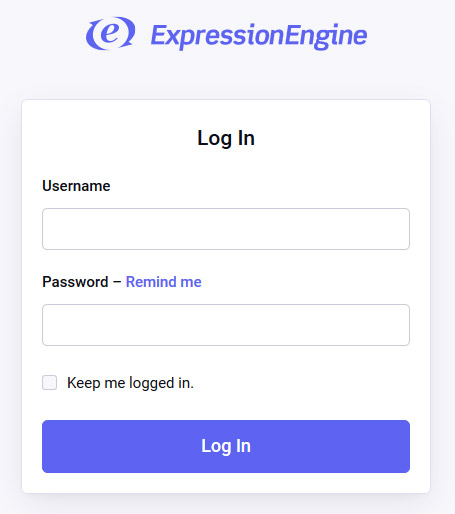
Once installed, you should be able to load example.com (which will just be an empty page) and get the Control Panel login screen at example.com/admin.php. The Control Panel, or "CP," is the site's administration area that will be heavily used in building the site and heavily used by the content editors and website owners to manage the content going forward.
Step 2 - Implement Recommended Best Practices
Read through EE's Post-Installation Best Practices page and implement all 3:
- Rename the
/system/directory OR move it above the webroot - Rename
admin.phpto something not guessable for an added layer of security - Remove
index.phpfrom your URLs
For referencing purposes throughout this tutorial, I'll still use "system" when referencing the /system/ folder. However, in your setup, it should either be renamed or above the webroot. To ease packaging up the code at various places along the way, I've opted to keep the system inside the webroot for this particular tutorial but have renamed it to "xyz_system".
Step 3 - Set and Review Basic EE Settings
- Log in to the CMS using the new name for
admin.php(e.g.example.com/razzle.php)
- Name your site: click the green link in the top-left or use the
Settingsbutton in the main menu, then set the name of your site and save the settings
- Review the rest of the settings accessible in the
Settingssection, noting there are several groups of settings in the left sub-navigation.
NOTE: throughout the CMS, using both
{base_url}and{base_path}during development whenever settings request a URL or PATH makes transferring or launching the site to a different domain much easier. If these two variables are used consistently, all you have to do to move or launch the site is update two settings. Using config overrides makes this even easier as you can set these variables in the same place you update the database connection credentials.
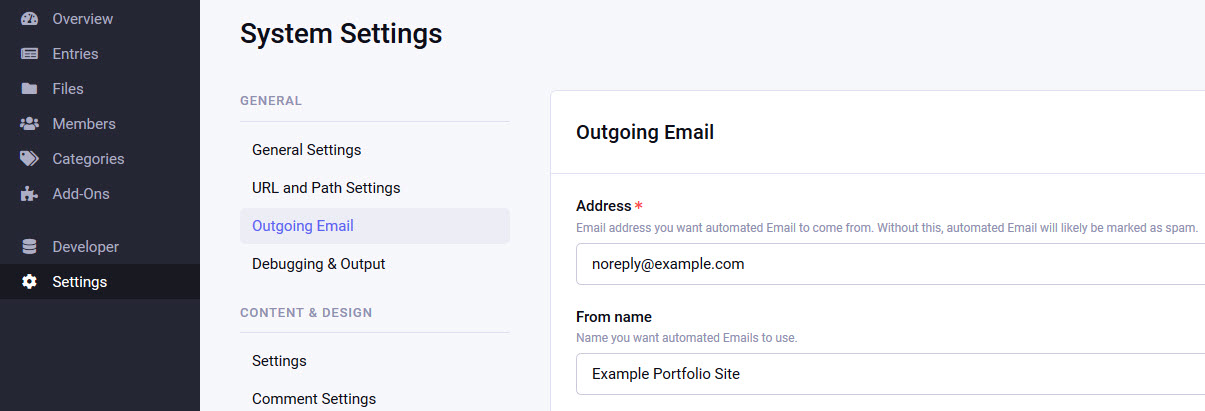
- Update the Outgoing Email address at
Settings > Outgoing Emailto an address that matches the domain of the site to help avoid spam filters (e.g., [email protected])
- Review the EE configuration file at
/system/user/config/config.phpThis is where you can easily set or update various settings for the site directly from the file system - you'll get very familiar with updating this file as it's where the database connection credentials are stored and where you add system configuration overrides. Config overrides set in this main configuration file do just that - override whatever was set before in the Control Panel - so if you're trying to change a setting in the Control Panel, but it doesn't appear to be changing, check the
/system/user/config/config.phpfile to see if an override is in place.
What's Next?
With ExpressionEngine installed, we're now ready to create our Content Model from Part 3 by building out or Channels, Field Groups, Fields, Category Groups, Categories, and Upload Directories where EE actually stores and content editors can create and update the content.

Comments 0
Be the first to comment!