In the last chapter, we created the bulk of our Content Model, but we can't add any content to those fields until we connect those Fields and Field Groups to Channels to create actual Entries. In this chapter, we'll tie everything together by creating the Channels so we can create content to pull through in the templates.
Because we've done all the groundwork, this step will go pretty quick. The general steps to creating a channel are:
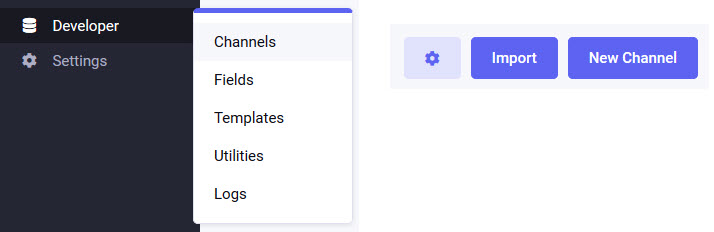
Developer > Channels and click the blue New Channel button in the top-right to add one
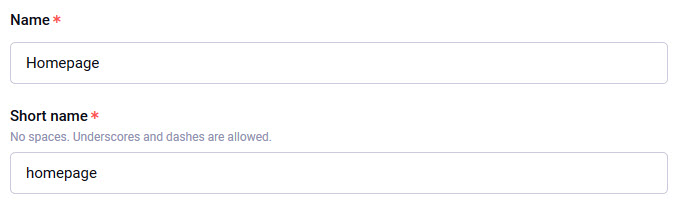

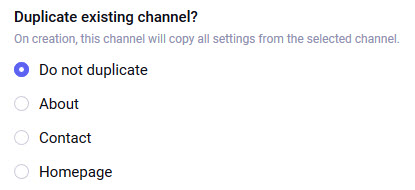

Following the steps above, go ahead and create all of our Channels:
 where we create our Hero Carousel File Grid Field on the fly:
 button
So now we have all our Channels set up and ready to start adding content! By now, you should be pretty familiar with the Fields, so let's go ahead and add some content.
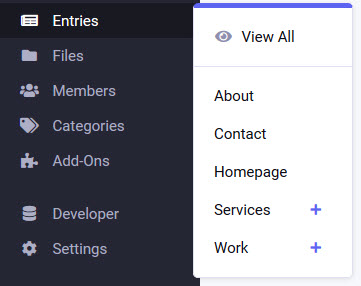
The primary way to manage Entries in EE is through the Entries option in the main menu. When you hover over Entries, you'll get a flyout with options for each of our Channels where clicking on the name of each Channel takes you to the list of all Entries in that channel that you can edit and clicking the + button next to the name will create a new Entry in that Channel. If the Channel has reached its maximum number of Entries, you won't be able to add a new one, but of course, you can still view and edit existing Entries:
NOTE: You can also create new Entries when viewing a list of Entries in a specific Channel using the blue button in the top-right:
Entries in the main menu and click the + next to the Homepage Channel, and you'll see an empty Publish form button, delete rows using the
  button and add new rows by either dragging and dropping another image into the 'drop zone' or with either the
 Choose Existing or Upload New buttons:

Save button
NOTE: No changes will be made to the database unless you click the
Savebutton or one of the options under theSavedropdown!
Follow the same steps above to create several Work Entries, adding new Entries via Entries > Work. Things to note as you do this:
Save your Entry with a required field left blank, you'll see errors indicated by both the Tab the error is on and any fields where an error occurred turning redSave button or one of the options under the Save dropdownDon't spend too long on this - just use a bunch of dummy text as the content you add isn't important here - we're just filling up the content so we have something to output to the templates in the next chapter.
Go ahead and do the same thing to create all of our other pages:
Again, don't worry too much about the content itself; just get content in there to have something to output. When adding the About page, go ahead and add at least one of each of the individual fields to our Page Builder Fluid Field so that we have all of them present on one page, which we'll focus on when building out the templates for the Page Builder. Feel free to re-use individual fields like Rich Text and Rich Text & Image but with different options selected.
While adding content to the About and Service pages, you'll notice the Page Builder field is empty. Remember, a Fluid Field lets the content editor add content by adding individual fields in whatever order they want. Remember, we set up several individual fields that we made available to our Page Builder. To add content, use the Add dropdown, and when you click it, you'll see you can choose from the individual fields we set up to be accessible here. Here are some tips on using a Fluid Field:
Add dropdown at the very bottom of the Page Builder field - OR - at the right side of each field (next to the trash icon). If you use any of these Add dropdowns, the new field you select will be added underneath the field that contained the dropdown you usedYou may have also noticed that wherever we have File or File Grid fields, you have access to the File Manager, which is where you upload images and documents, but it's worth noting a few things:
Choose Existing button. When looking at existing files:
 and
and  buttons
show dropdownUpload New File at this point tooIf you ever try to upload a file (whether it be an image or document) to any directory where that exact filename already exists in that directory, you'll get a 'conflict,' and you'll have to resolve it using one of three options.
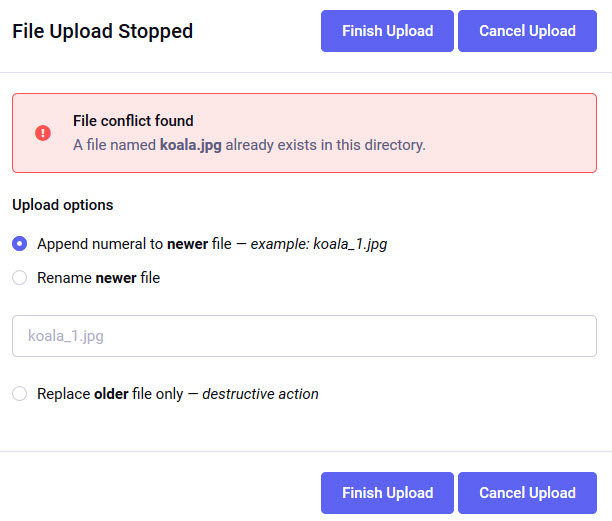
Let's say we were uploading the file koala.jpg, and it already exists in the directory we're trying to upload to. The options are:
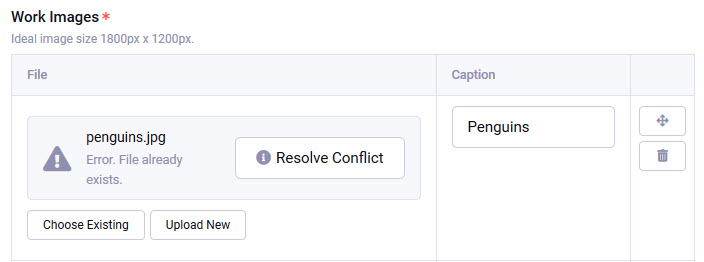
koala_1.jpg (or koala_2.jpg if that already exists and so on)menu.pdf or replacing koala.jpg to update it anywhere it's already being used. In these scenarios, we don't want to have to go back through the site to update all the links, so replacing the file is ideal.If there's a conflict when dragging & dropping files into the 'drop zone' of a File or File Grid Field, you'll have to click the Resolve Conflict button to launch the popup where you can decide how to resolve it:
NOTE: Following on from above, it's good to consider your file names before you upload them, particularly for files that might ever need to be updated. For example,
Menu-July-2020.pdfis a bad choice because as soon as you have to update the file, you'll also have to go back through the site, update all the links to it, and search engines that had indexed it will be linking to an old file. It also does not indicate where it's from or what kind of menu it is. Instead, consider something likeRestaraunt-Name-Current-Dinner-Menu.pdf, which you can just replace as necessary but without ever changing the public URL.
In previous steps, we've created Fields and Field Groups and then assigned those to individual Channels to establish what Fields are available when adding or editing Entries. However, depending on how and when you created and assigned various Fields, you may have noticed that the Fields might not be ordered in a logical way for your content editors. Additionally, you will undoubtedly add fields over time, and new Fields are just added at the bottom of the list, which may not be ideal. Generally speaking, it makes sense to order the fields in a Channel in the same order they're utilized in the output on the page.
Publish Layouts let us optimize the editing experience by reordering Fields available to each Channel and grouping fields into tabs. By default, EE Channels have 4 tabs we touched on in the last step:
However, these can easily be customized on a per-Channel basis. How you do it is up to you, but your goal should be to give the best editing experience to your content editors.
To create or edit Publish Layouts:
Developer > Channels in the main menu, then use the  button towards the far-right of any Channel to view or edit the Publish Layouts for that Channel
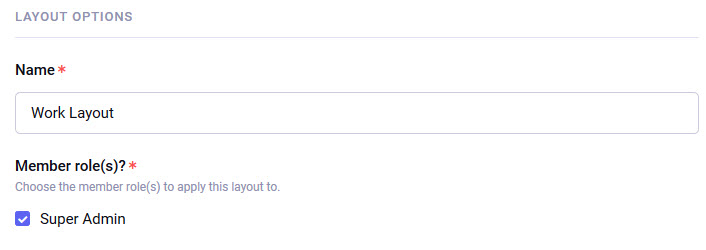
New Layout button to create a new one, then name your Layout (which is for your reference only - editors don't see this) check the Super Admin role:

Make whatever changes you'd like, such as:
NOTE: You can't hide Fields that are Required
Add Tab button in the top-right - and delete Tabs you've added yourself with the trash can icon
NOTE: You can't hide or delete Tabs that have Required fields in them
Save and repeat for each of your ChannelsNOTE: You can also set up different Publish Layouts for different Member Roles if you have different types of CMS users. We aren't covering that in this tutorial, but it's worth being aware of.
At this point, we have our Content Model built out in ExpressionEngine and have created our Channels and Entries in those channels with actual content. The next step is to build out our Templates, which is how EE outputs the content to the browser when certain URLs are requested. Templating is where we actually start seeing things come together, so let's get started!