Building an E-commerce Website With ExpressionEngine, Part 1
- 1 - Building an E-commerce Website With ExpressionEngine, Part 1
- 2 - Building an E-commerce Website With ExpressionEngine, Part 2
- 3 - Building an E-commerce Website With ExpressionEngine, Part 3
- 4 - Building an E-commerce Website With ExpressionEngine, Part 4
- 5 - Building an E-commerce Website With ExpressionEngine, Part 5
Part 1: Setting the stage
CartThrob is an ecommerce add-on we’ve used for many years, building sophisticated stores that integrate with ERPs, event ticketing sites, or even basic invoice payment forms. This series provides a foundation for building a CartThrob commerce website from scratch, covering field creation, channel configuration and assignment, payments, shipping, taxes and order notifications. A high-level overview of template tags is found in Part 5 of the walkthrough, along with a zip archive of the full example templates.
Disclaimer: This is a way to build a CartThrob store, not the way. The power of CartThrob is in how it extends ExpressionEngine. You can bring your ExpressionEngine skills to bear and simply extend into commerce.
Acknowledgements: These example templates, and the general configuration covered in this walkthrough are developed by Greg Crane from store builds for our clients.
Introducing our demo store, FakeBowling.shop!
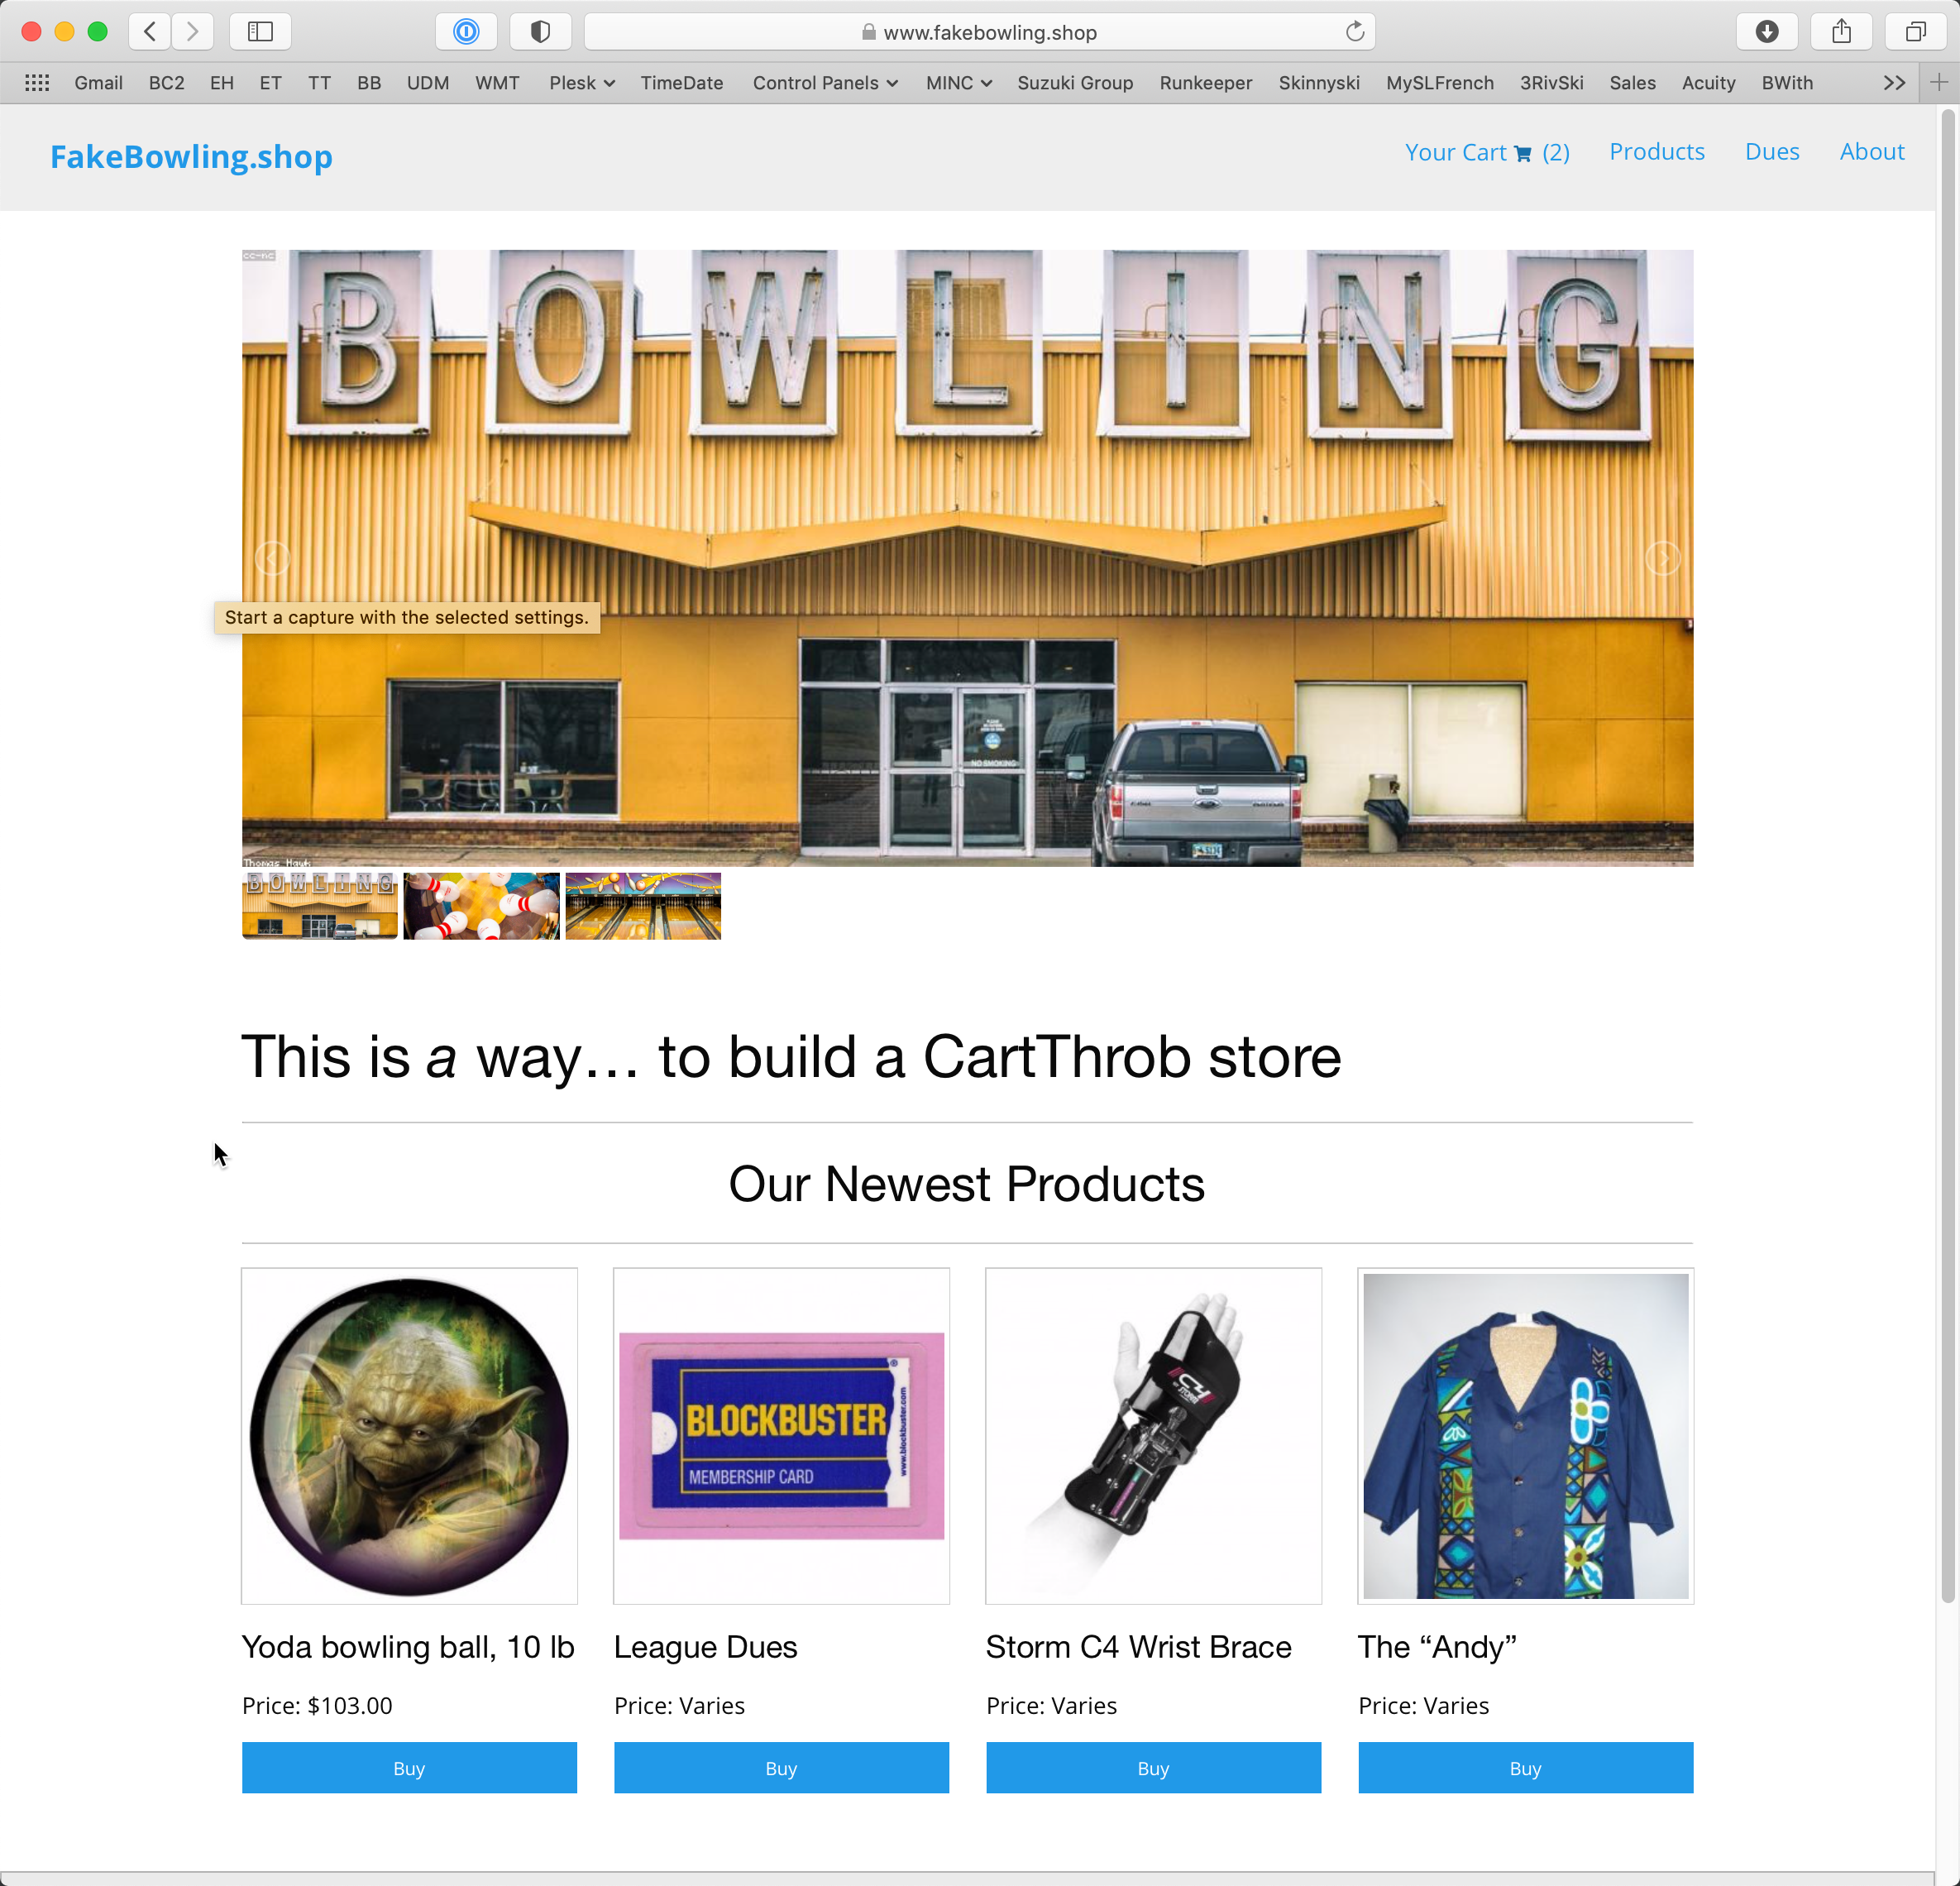
As you might have guessed, our chosen demonstration store is one that sells bowling accessories. Such a store would likely have Simple Products such as a bowling ball, or Optioned Products such as a shirt with size options, or Virtual Products such as League dues where shipping and weight don’t apply.
This is a speed run starting from an existing ExpressionEngine website; our journey begins just after the CartThrob add-on has been installed but none of the configuration has been completed. Two basic channels exist in our ExpressionEngine site for this example: {simple_products} and {optioned_products}.
Let’s get started!
1a) Simple Products: field creation and entry configuration
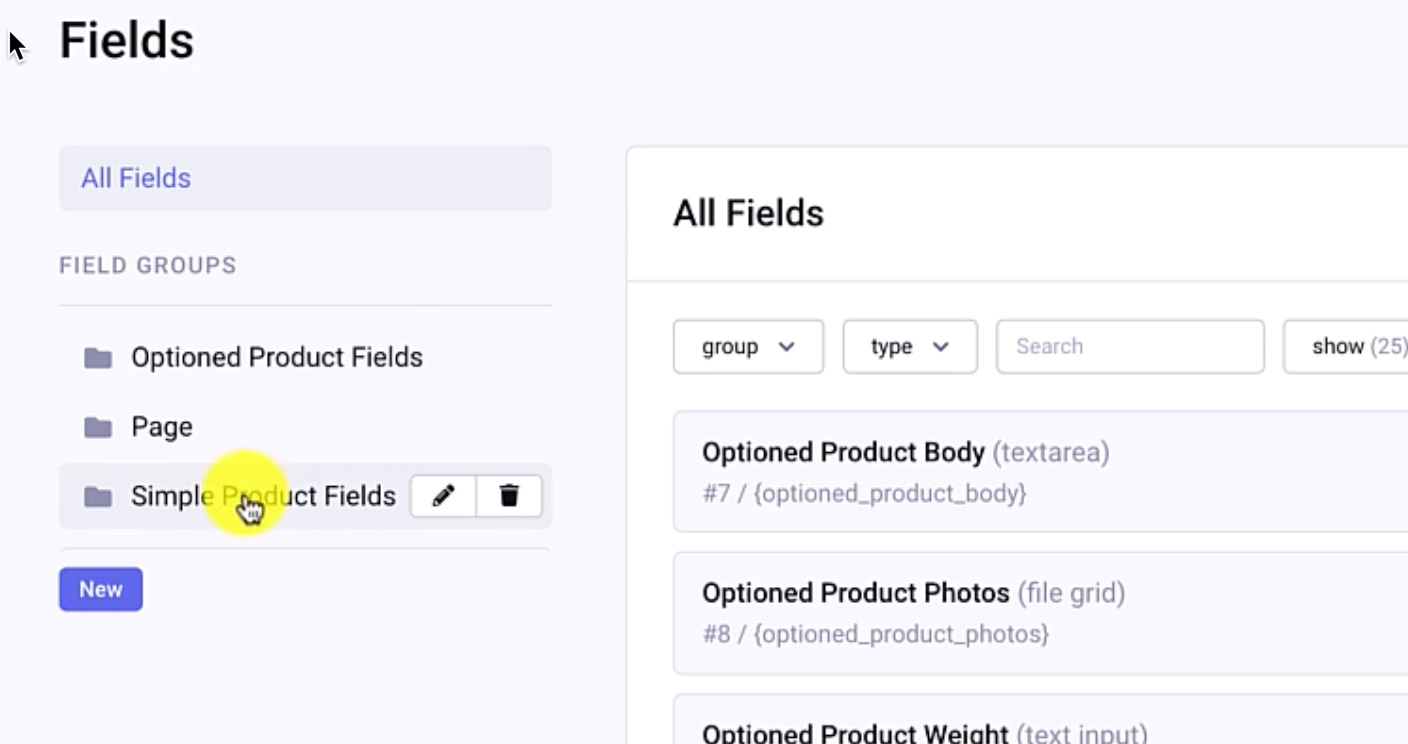
We’re going to create our simple product fields and then review how those appear on the front end, then configure CartThrob so it knows about that simple product channel. Within the Fields menu, you’ll see we already created field groups for our Simple and Optioned products, but for now we’re going to focus on the Simple Product Field group.
The first field we need to add is the price. Create a new field within this field group; use the field type “CartThrob - Simple”. I’ll call this Simple Product Price , {simple_product_price}, making it required.

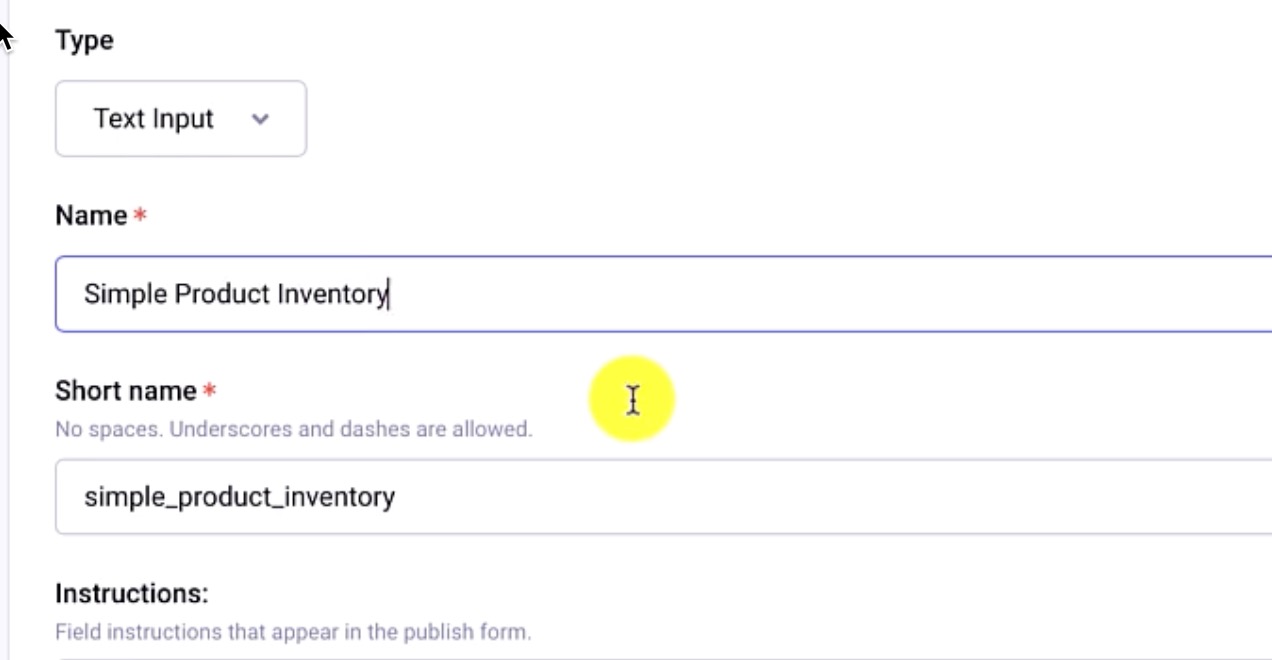
The next field is the Quantity, or the Inventory Tracking field, and this can just be text input with “Integer” as the Allowed Content setting. In our case we used {simple_product_inventory}.
The third field to create is a Text input field, named {simple_product_weight} with Number set for Allowed Content.
We have three demo products in our store (two bowling balls and one accessory). Note that Products within CartThrob are simply ExpressionEngine channel entries: everything you’re accustomed to from a standard ExpressionEngine website applies; we are simply introducing CartThrob field types.
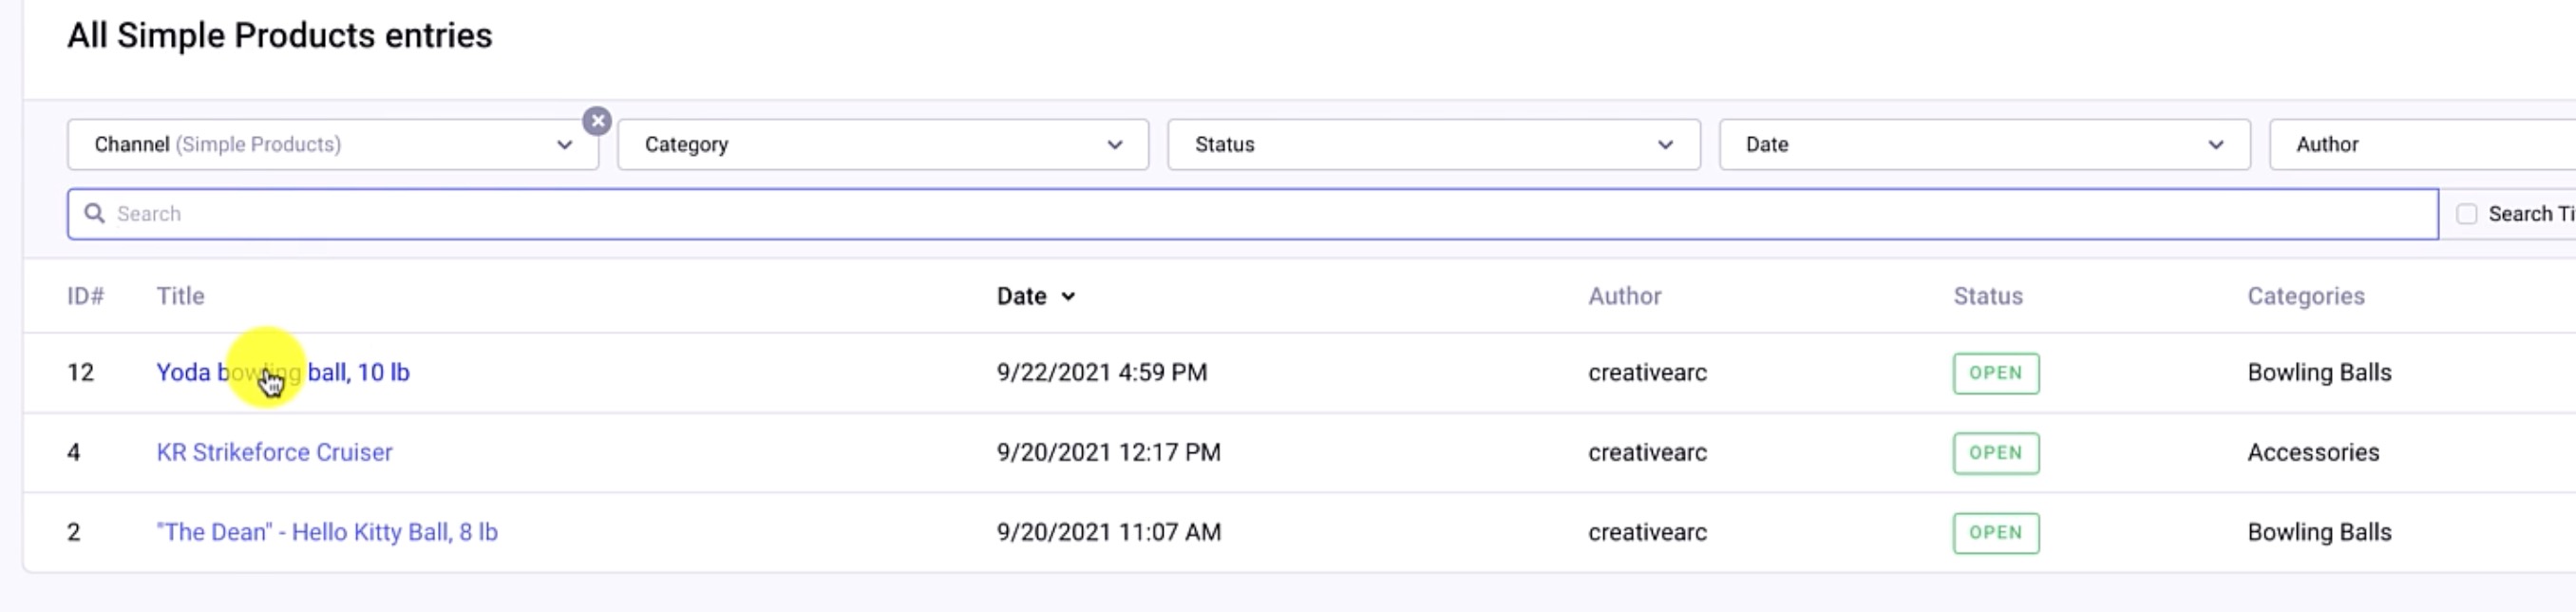
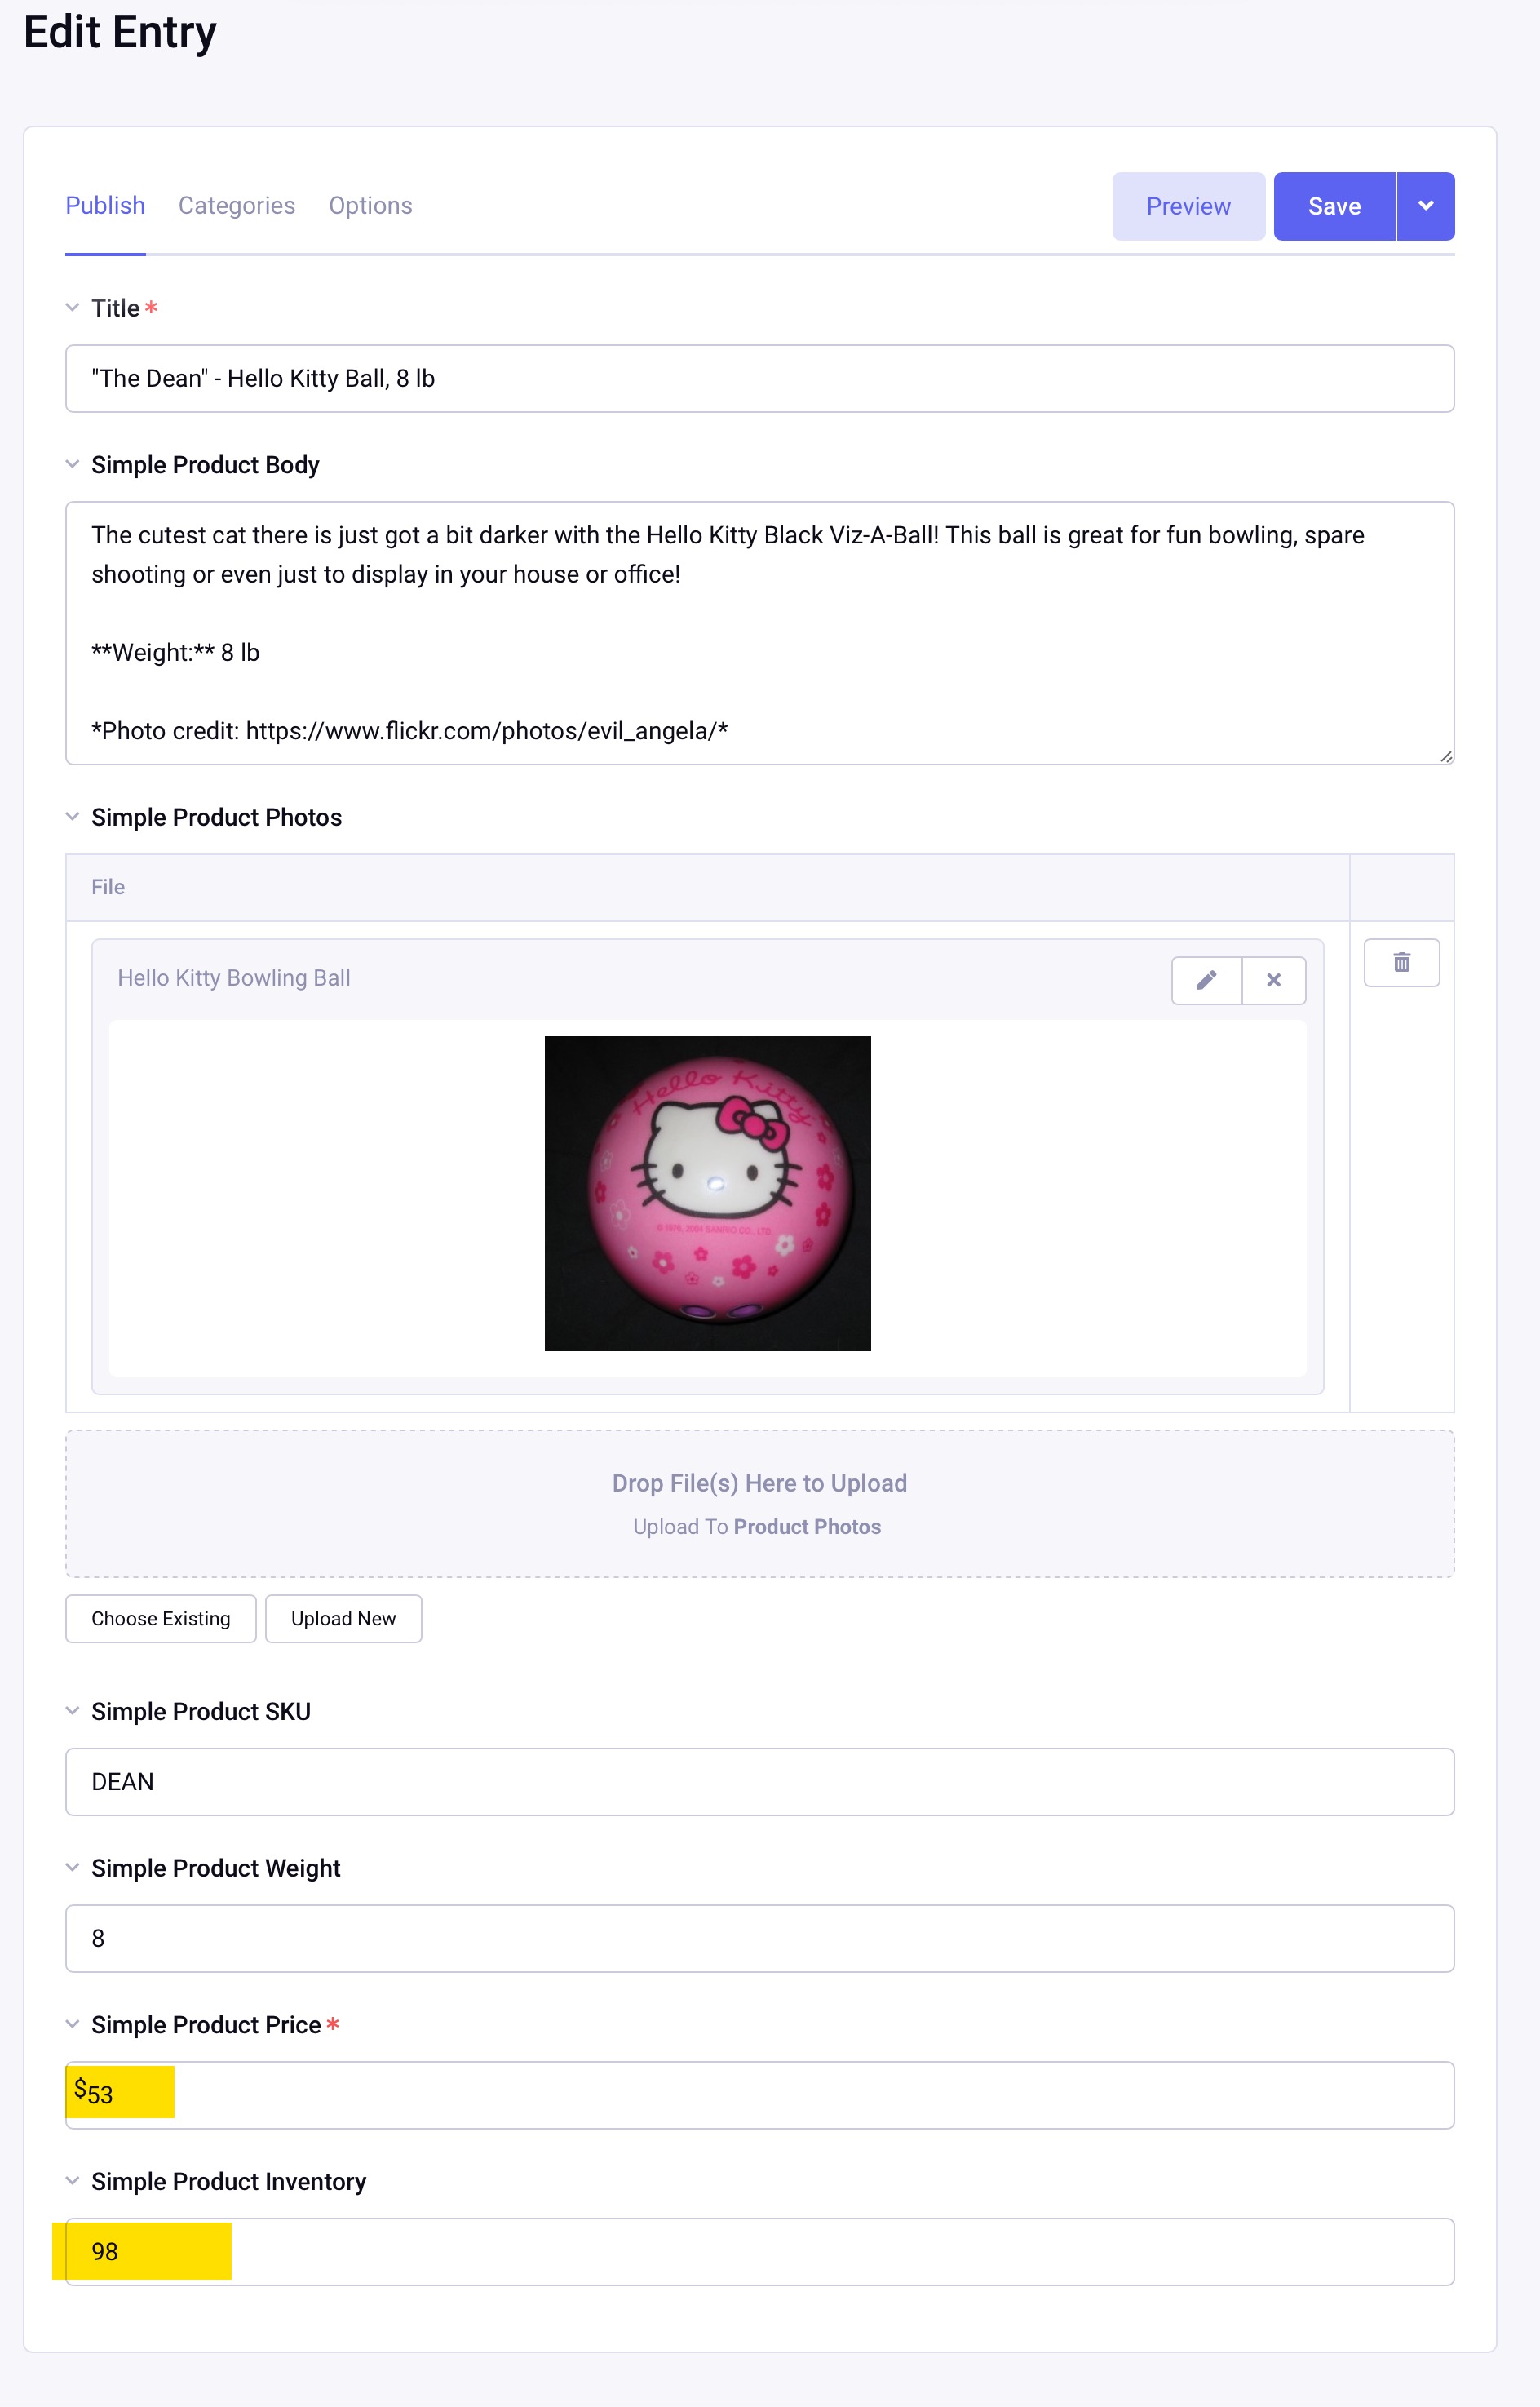
Let’s look at one test product entry as an example (8-pound Hello Kitty ball). We already have the photo and the body and the SKU in there, but I’ll just give this a price of $53 and a quantity of 98 in stock.
Following suit, the Yoda ball is $103 with a Inventory of 5, followed by the Bag Roller product, priced at $80 and a quantity of 60.
A quick peek at one of these items on the frontend:

Now, we can go to the CartThrob add-on within the ExpressionEngine backend, which at the moment doesn’t know this channel exists. From the Products tab, we’ll assign the channel Simple Products. Our Price Field name is the Simple Product Price, the weight field name is Simple Product Weight and the quantity field is Simple Product Inventory.
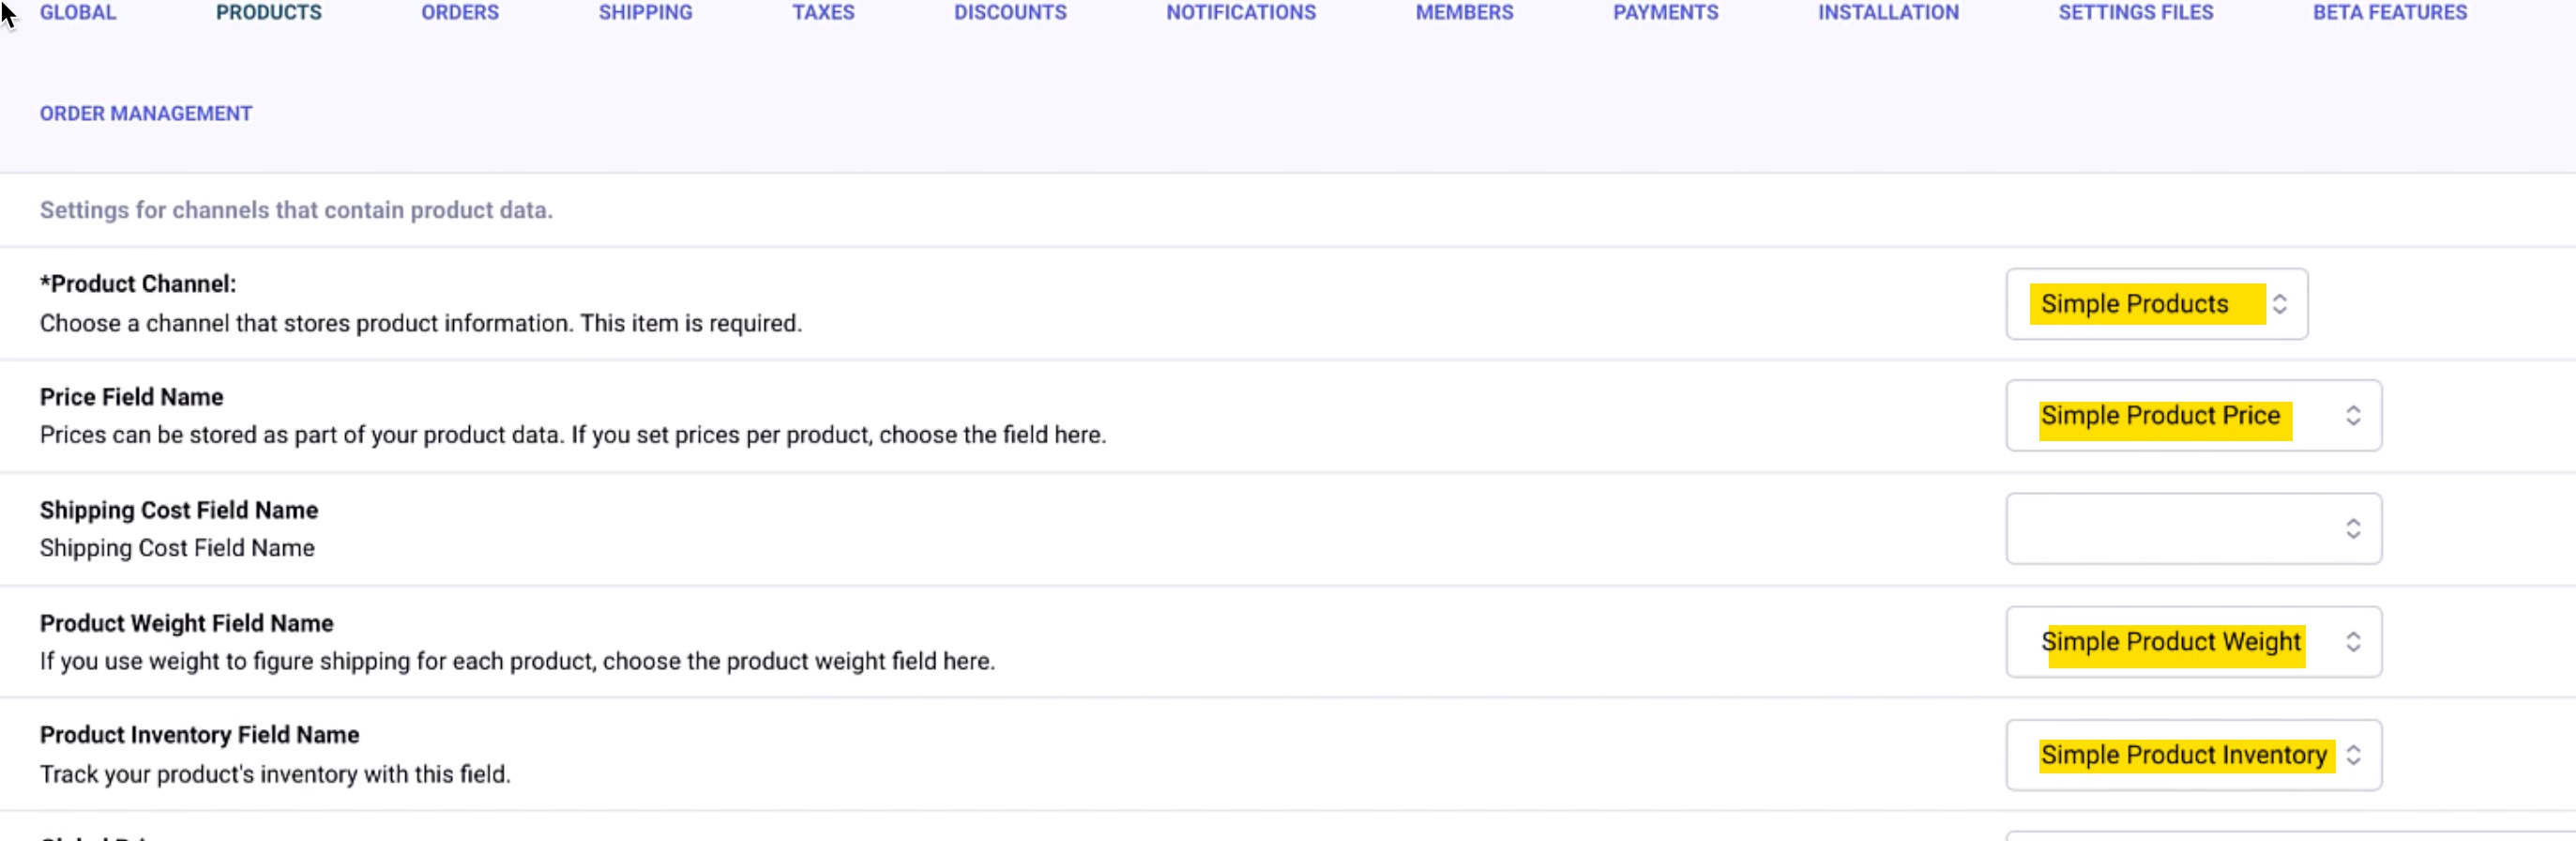
So now CartThrob knows that products are coming from that channel, and it knows which fields to use for the pricing and for the shipping/weight calculations. On to Optioned Products!
1b) Optioned Products
So we have the basics of the simple product configured and populated. Now we have our more complicated Optioned products that are in a different channel, and just as we did for the Simple products, we have to make some fields, populate the products, and then configure CartThrob to use the appropriate channel and fields. As a reminder, Optioned products refer to T-shirt with sizes of small, medium, and large, for example.
The CartThrob price modifier field
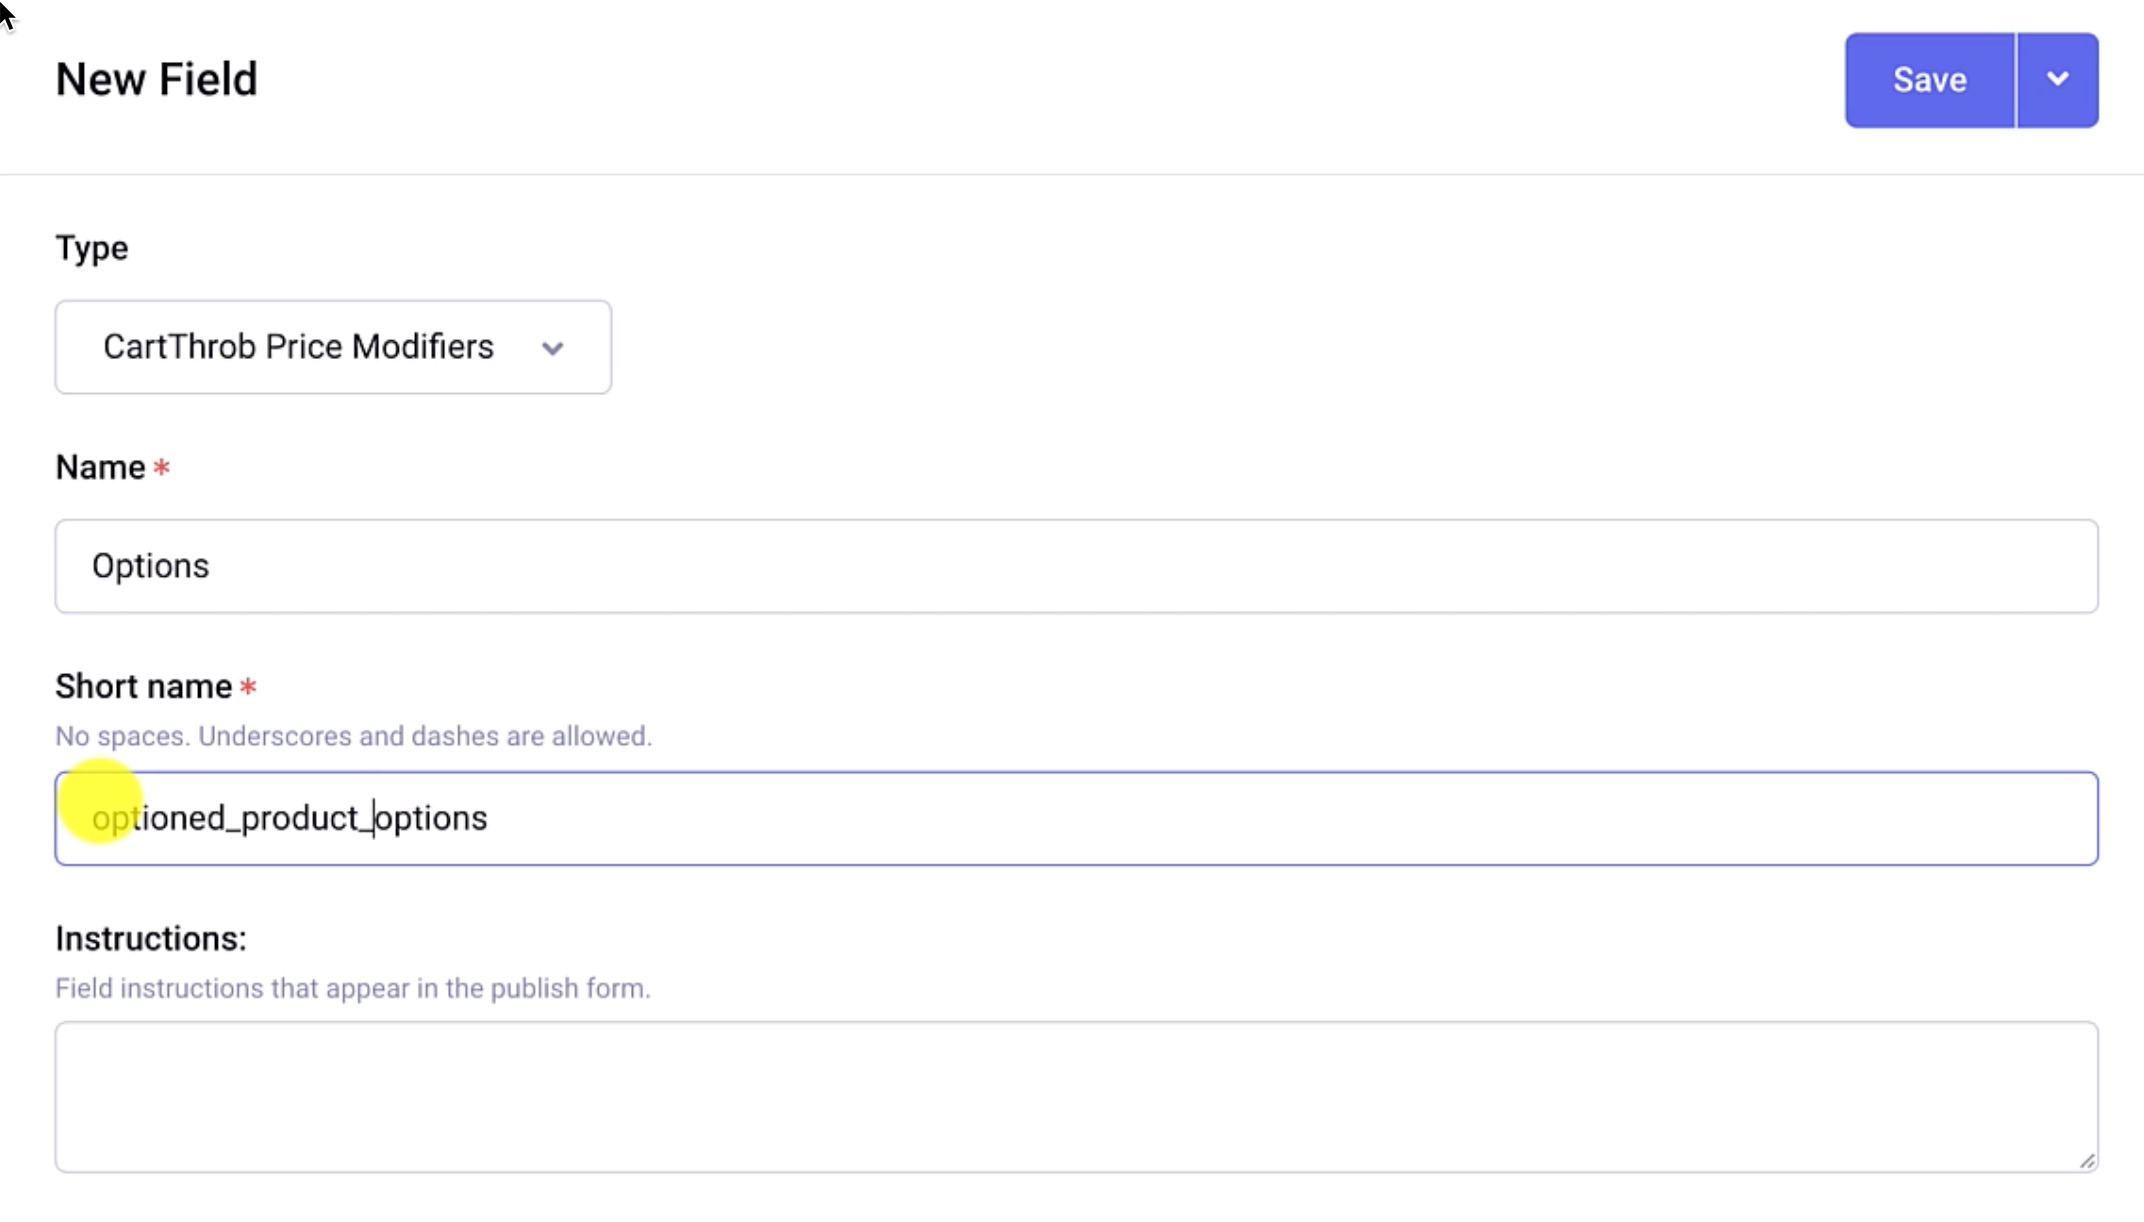
Returning to the Fields menu, navigate to the Optioned Product Field Group. Create a new field of type CartThrob price modifier. The name of my field is simply “Options,” with a Short name of {optioned_product_options}. Note: On the frontend, the name of the field (Options) is what’s going to display next to the dropdown with the options, shirt sizes and colors, for example.
Next, we’ll make a basic Text input field {optioned_product_weight} with Number as the Allowed Content setting.
Add Product Options to Entry
Go to “Edit” menu and bring up our Optioned Product channel. We’ll use our Shirt product (The Andy) as an example.
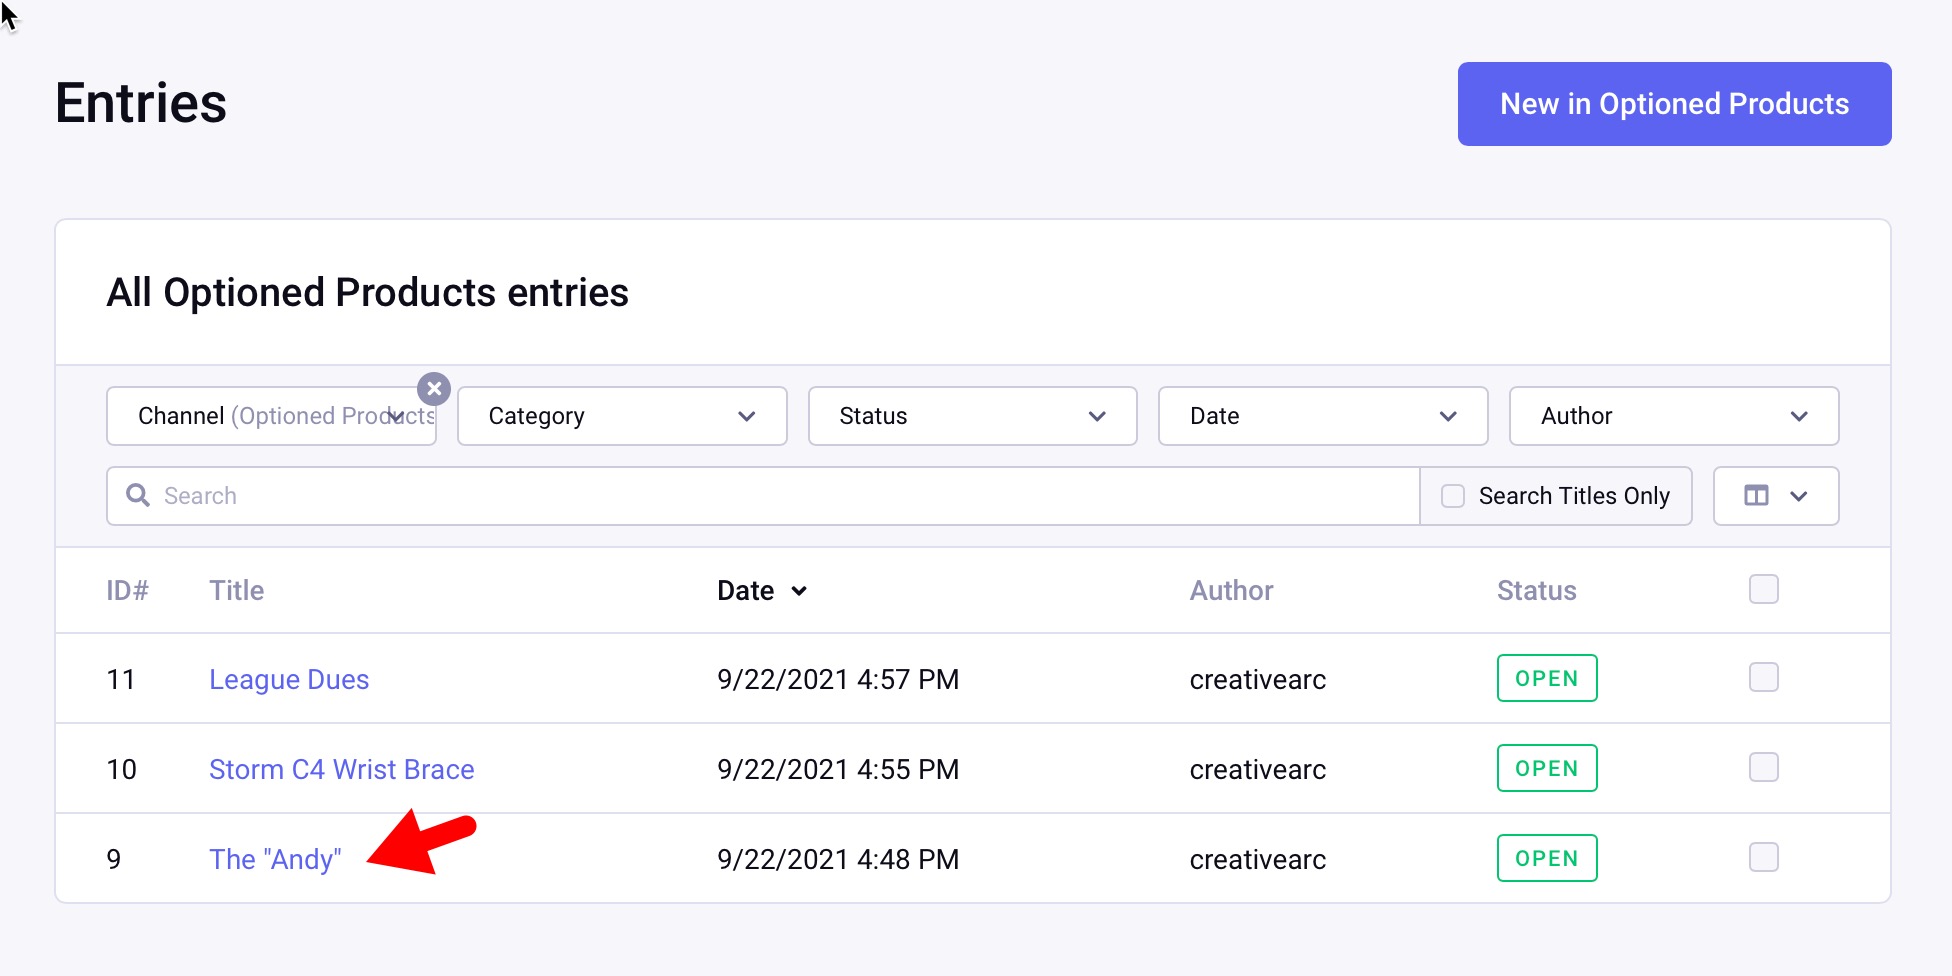
As we scroll down that product entry page, we’ll see our blank CartThrob Price Modifier field with default columns of Option Short Name, Option Label, and Price.
Next, a detail that is easy to miss the first time you do it: we can add additional columns; in our case, Inventory and SKU. (We’re making the assumption that the option prices here are what the customer will see on the frontend. Another option is to have a separate base price for which the price modifiers would add or subtract the prices from that base price). For this example, though, there is no base price, and the Option price is what the customer will see in their cart.
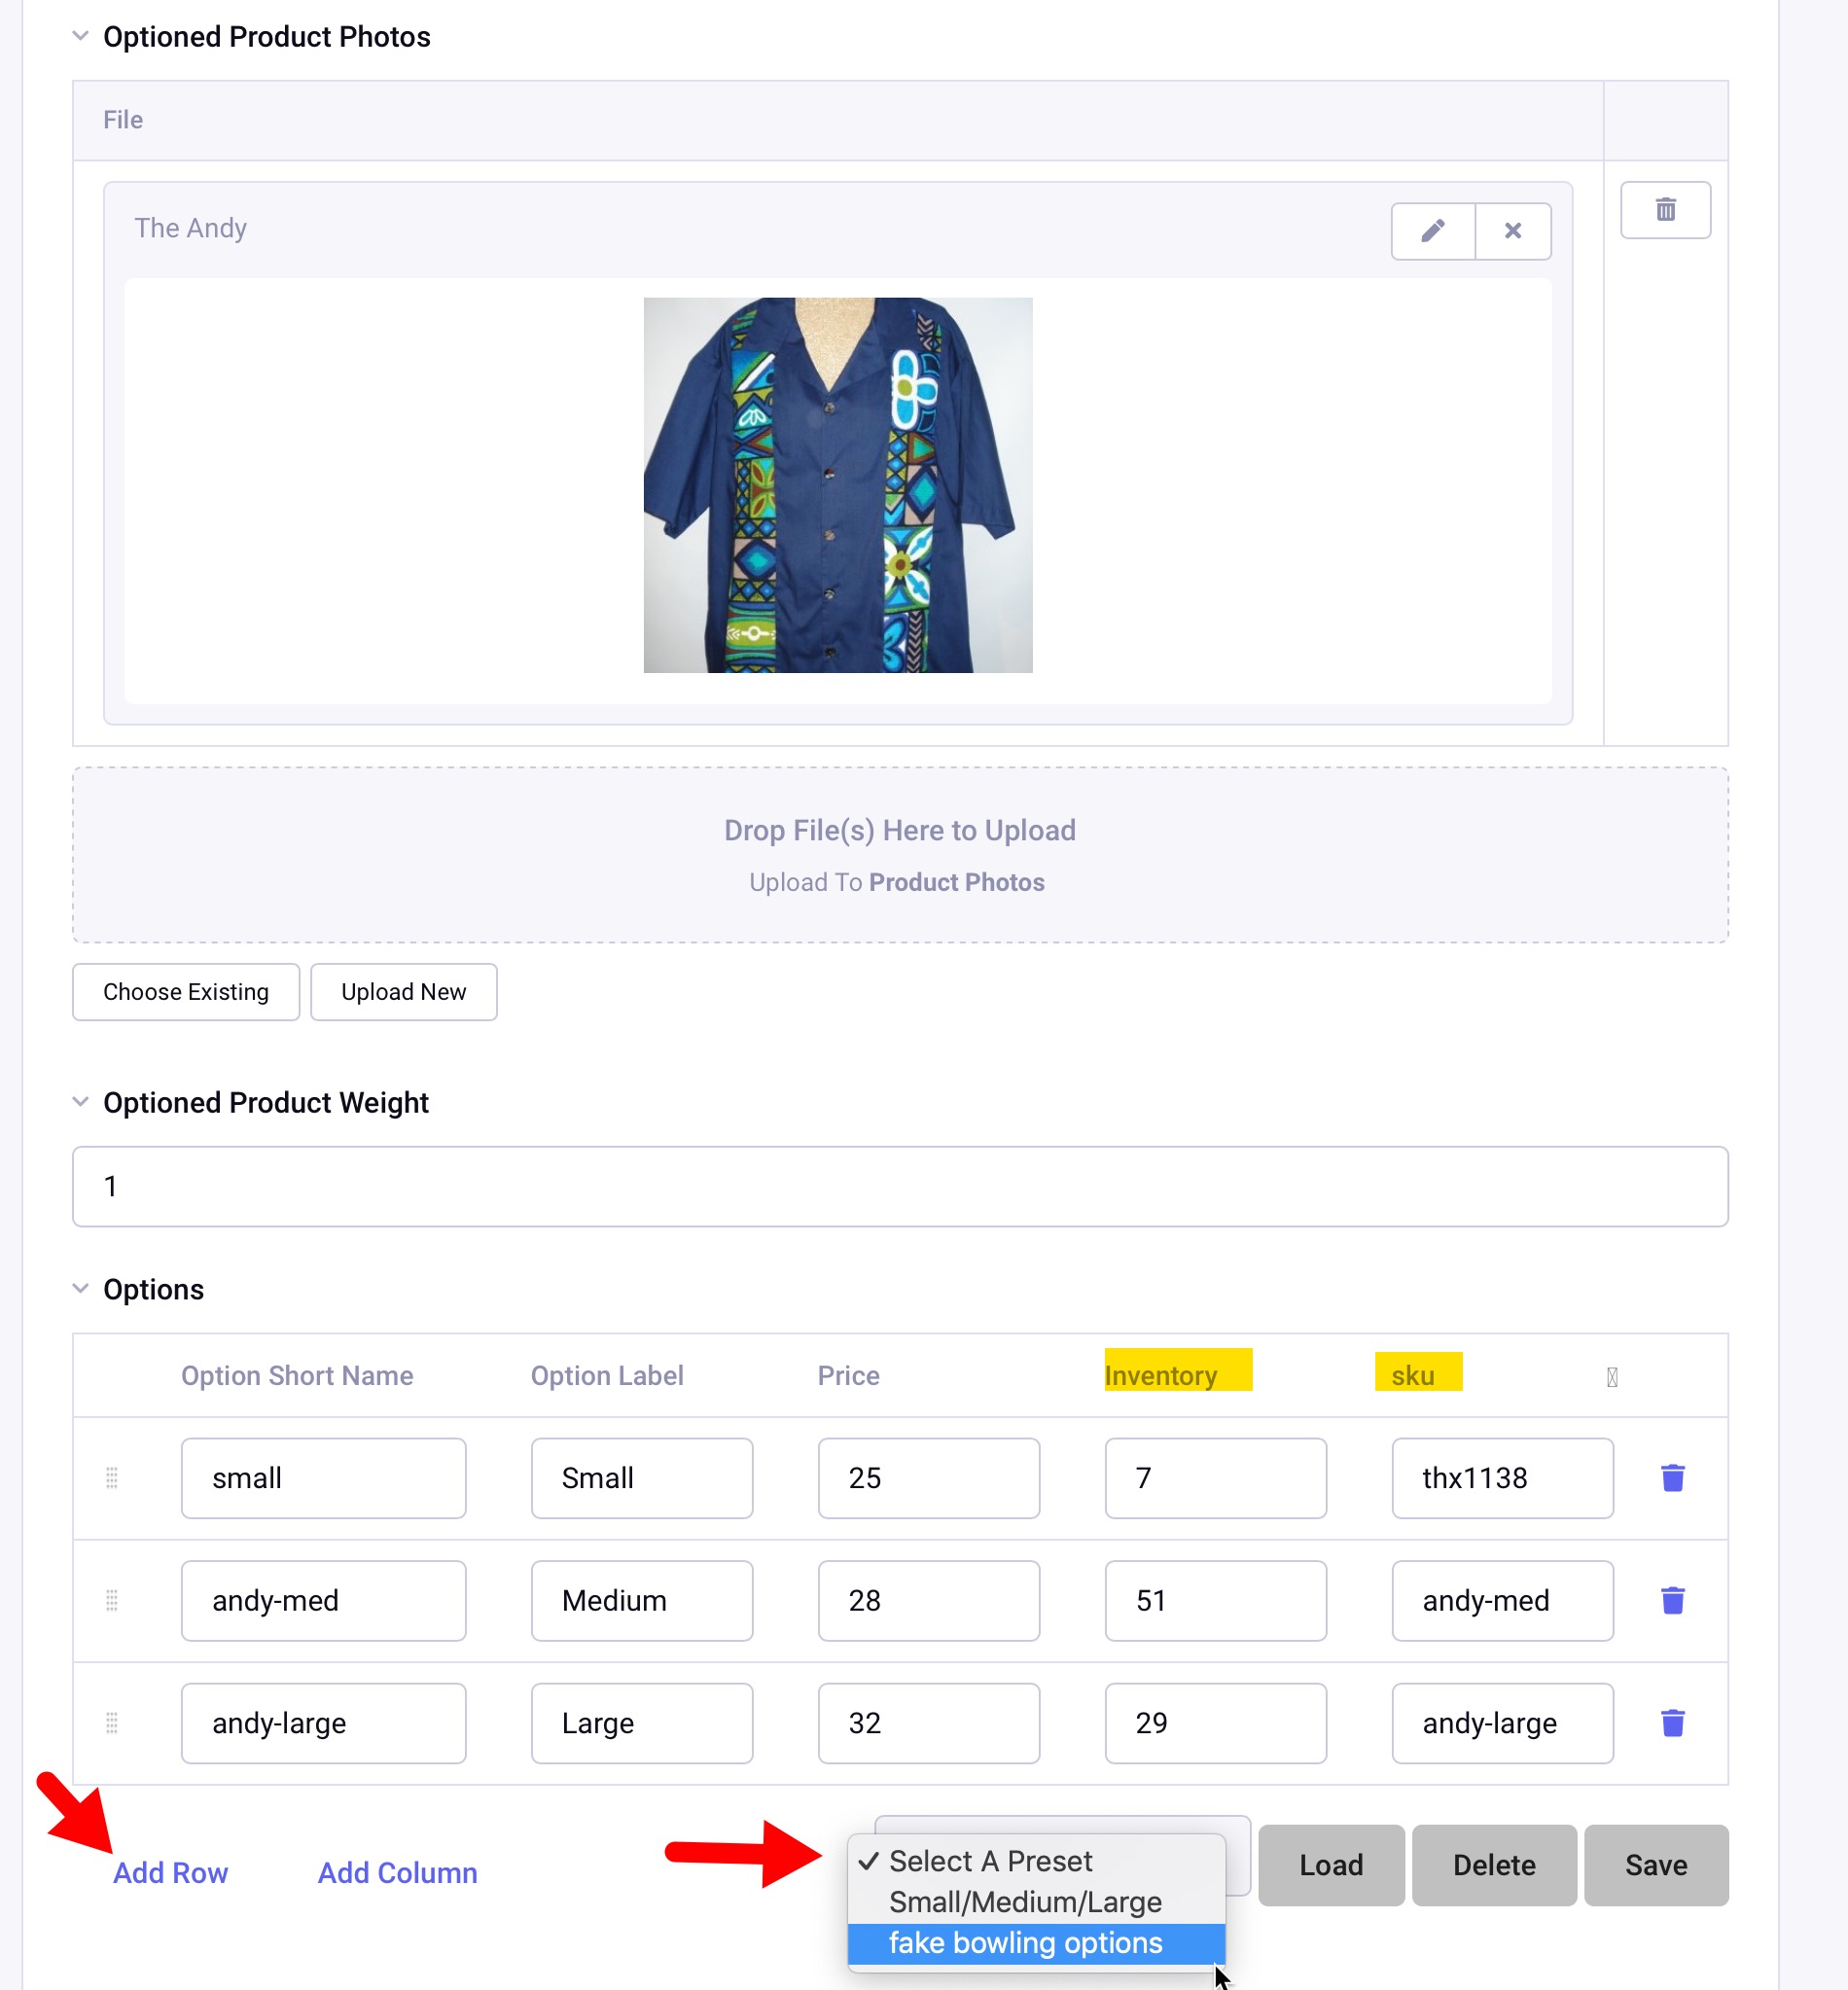
Sizes (Options) have been added: Small, Medium, and Large with their associated price, inventory, and SKU.
Note: Within the Options (CartThrob Price Modifier field), the “Save” action is for the Preset, you’ll need to save the Entry afterwards. The preset makes data entry easier as you add more products.
Setup Optioned Product Channel within CartThrob
CartThrob doesn’t know this “Optioned Products” channel exists yet, so we’ll head back to the CartThrob add-on, “Products” tab. You’ll see our simple products are still there but we’re going to add another channel (click “Add Another Channel”). We’ll choose Optioned Products with the settings below:
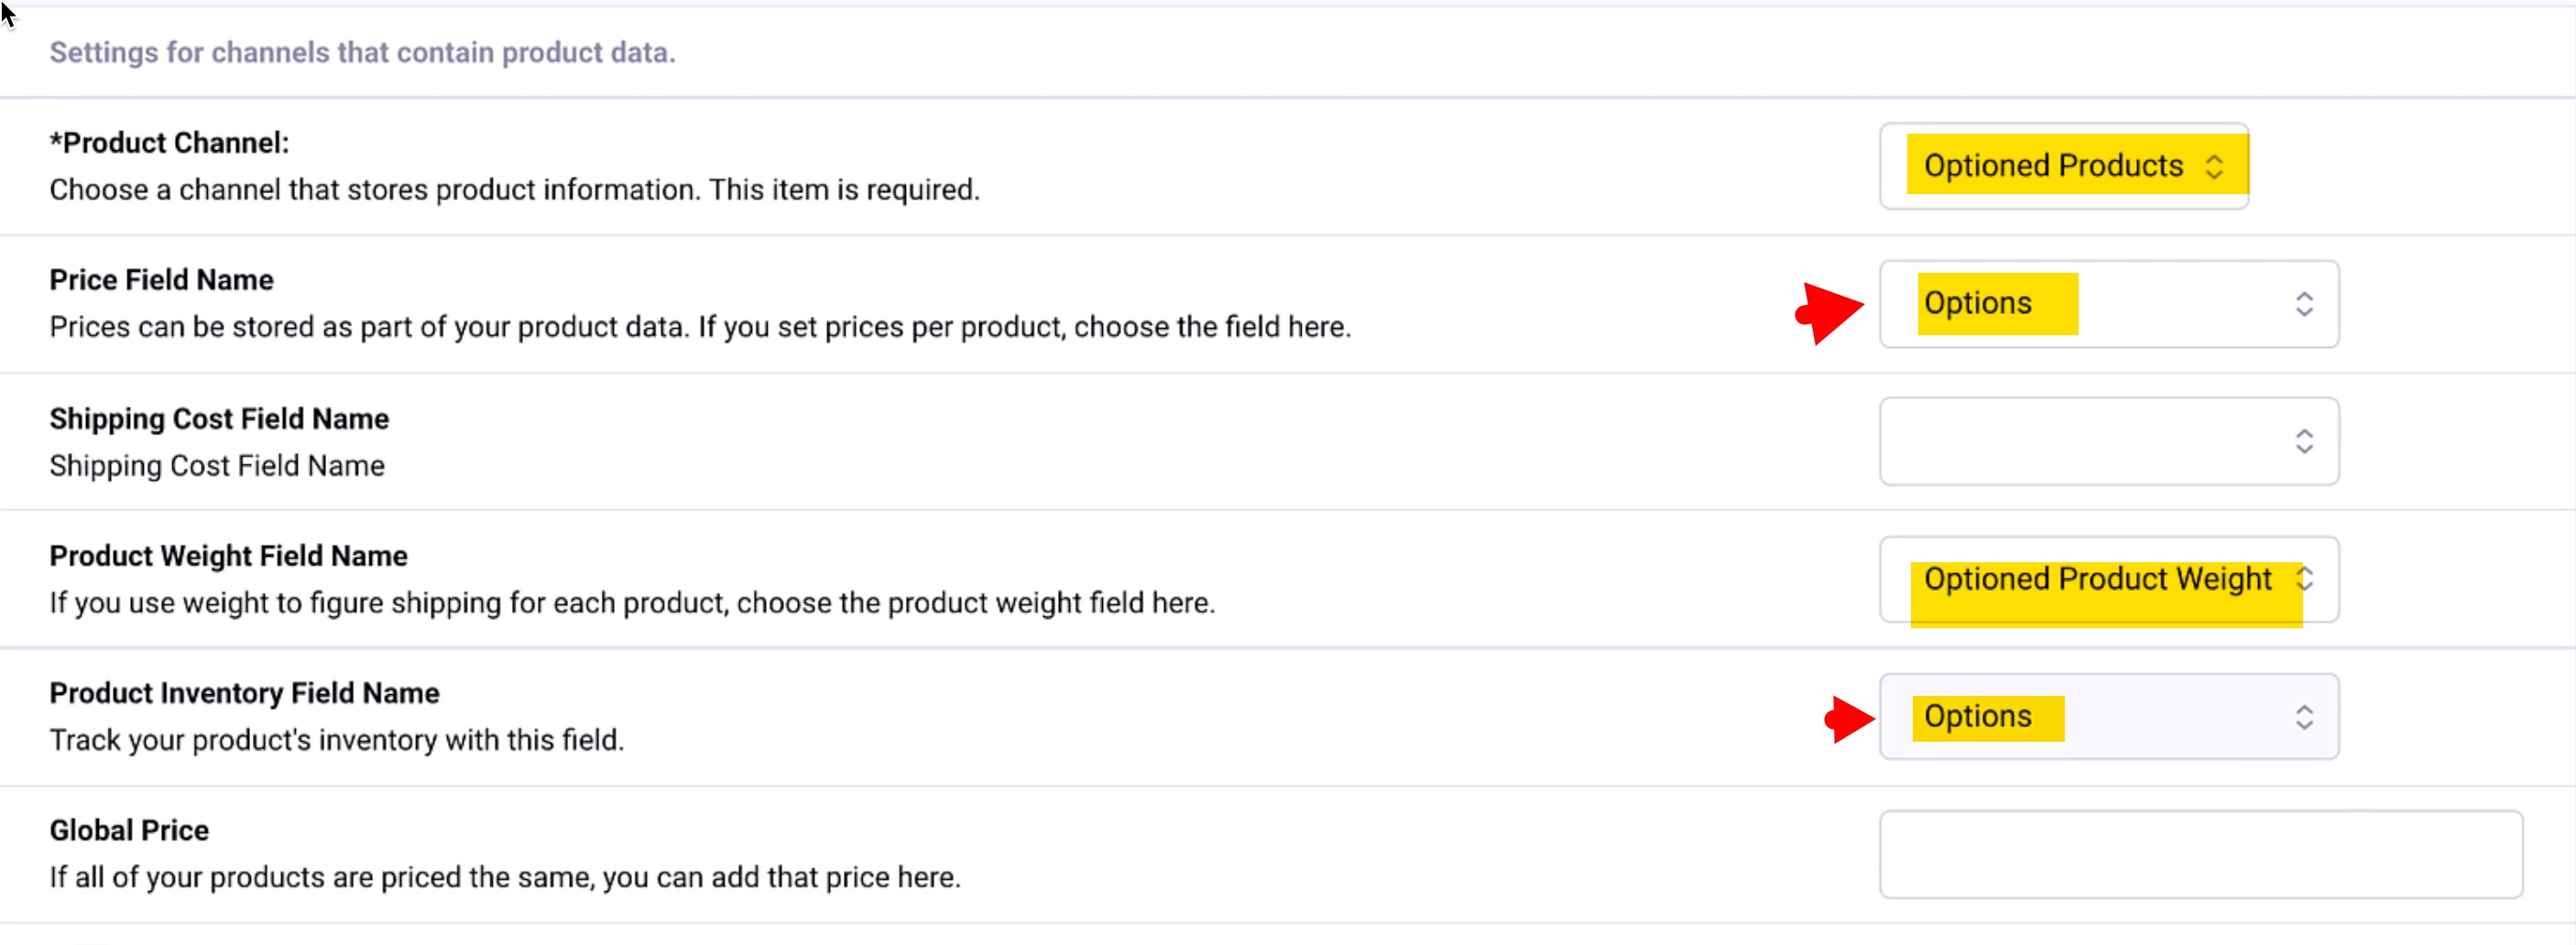
So far so good! Now we have to save by clicking Submit at the bottom of the page. We should be ready to move on.
1c) Frontend Add to Cart Demo
We now have our products created, both the simple and the optioned products. Upon adding the Yoda bowling ball to the cart, it’s good to see it has the proper line-item cost and then a subtotal cost. Updating the cart to a quantity of 2, for example, properly adjusts the subtotal and listed quantity.

Next, we add the Andy product, size Medium, to the cart.
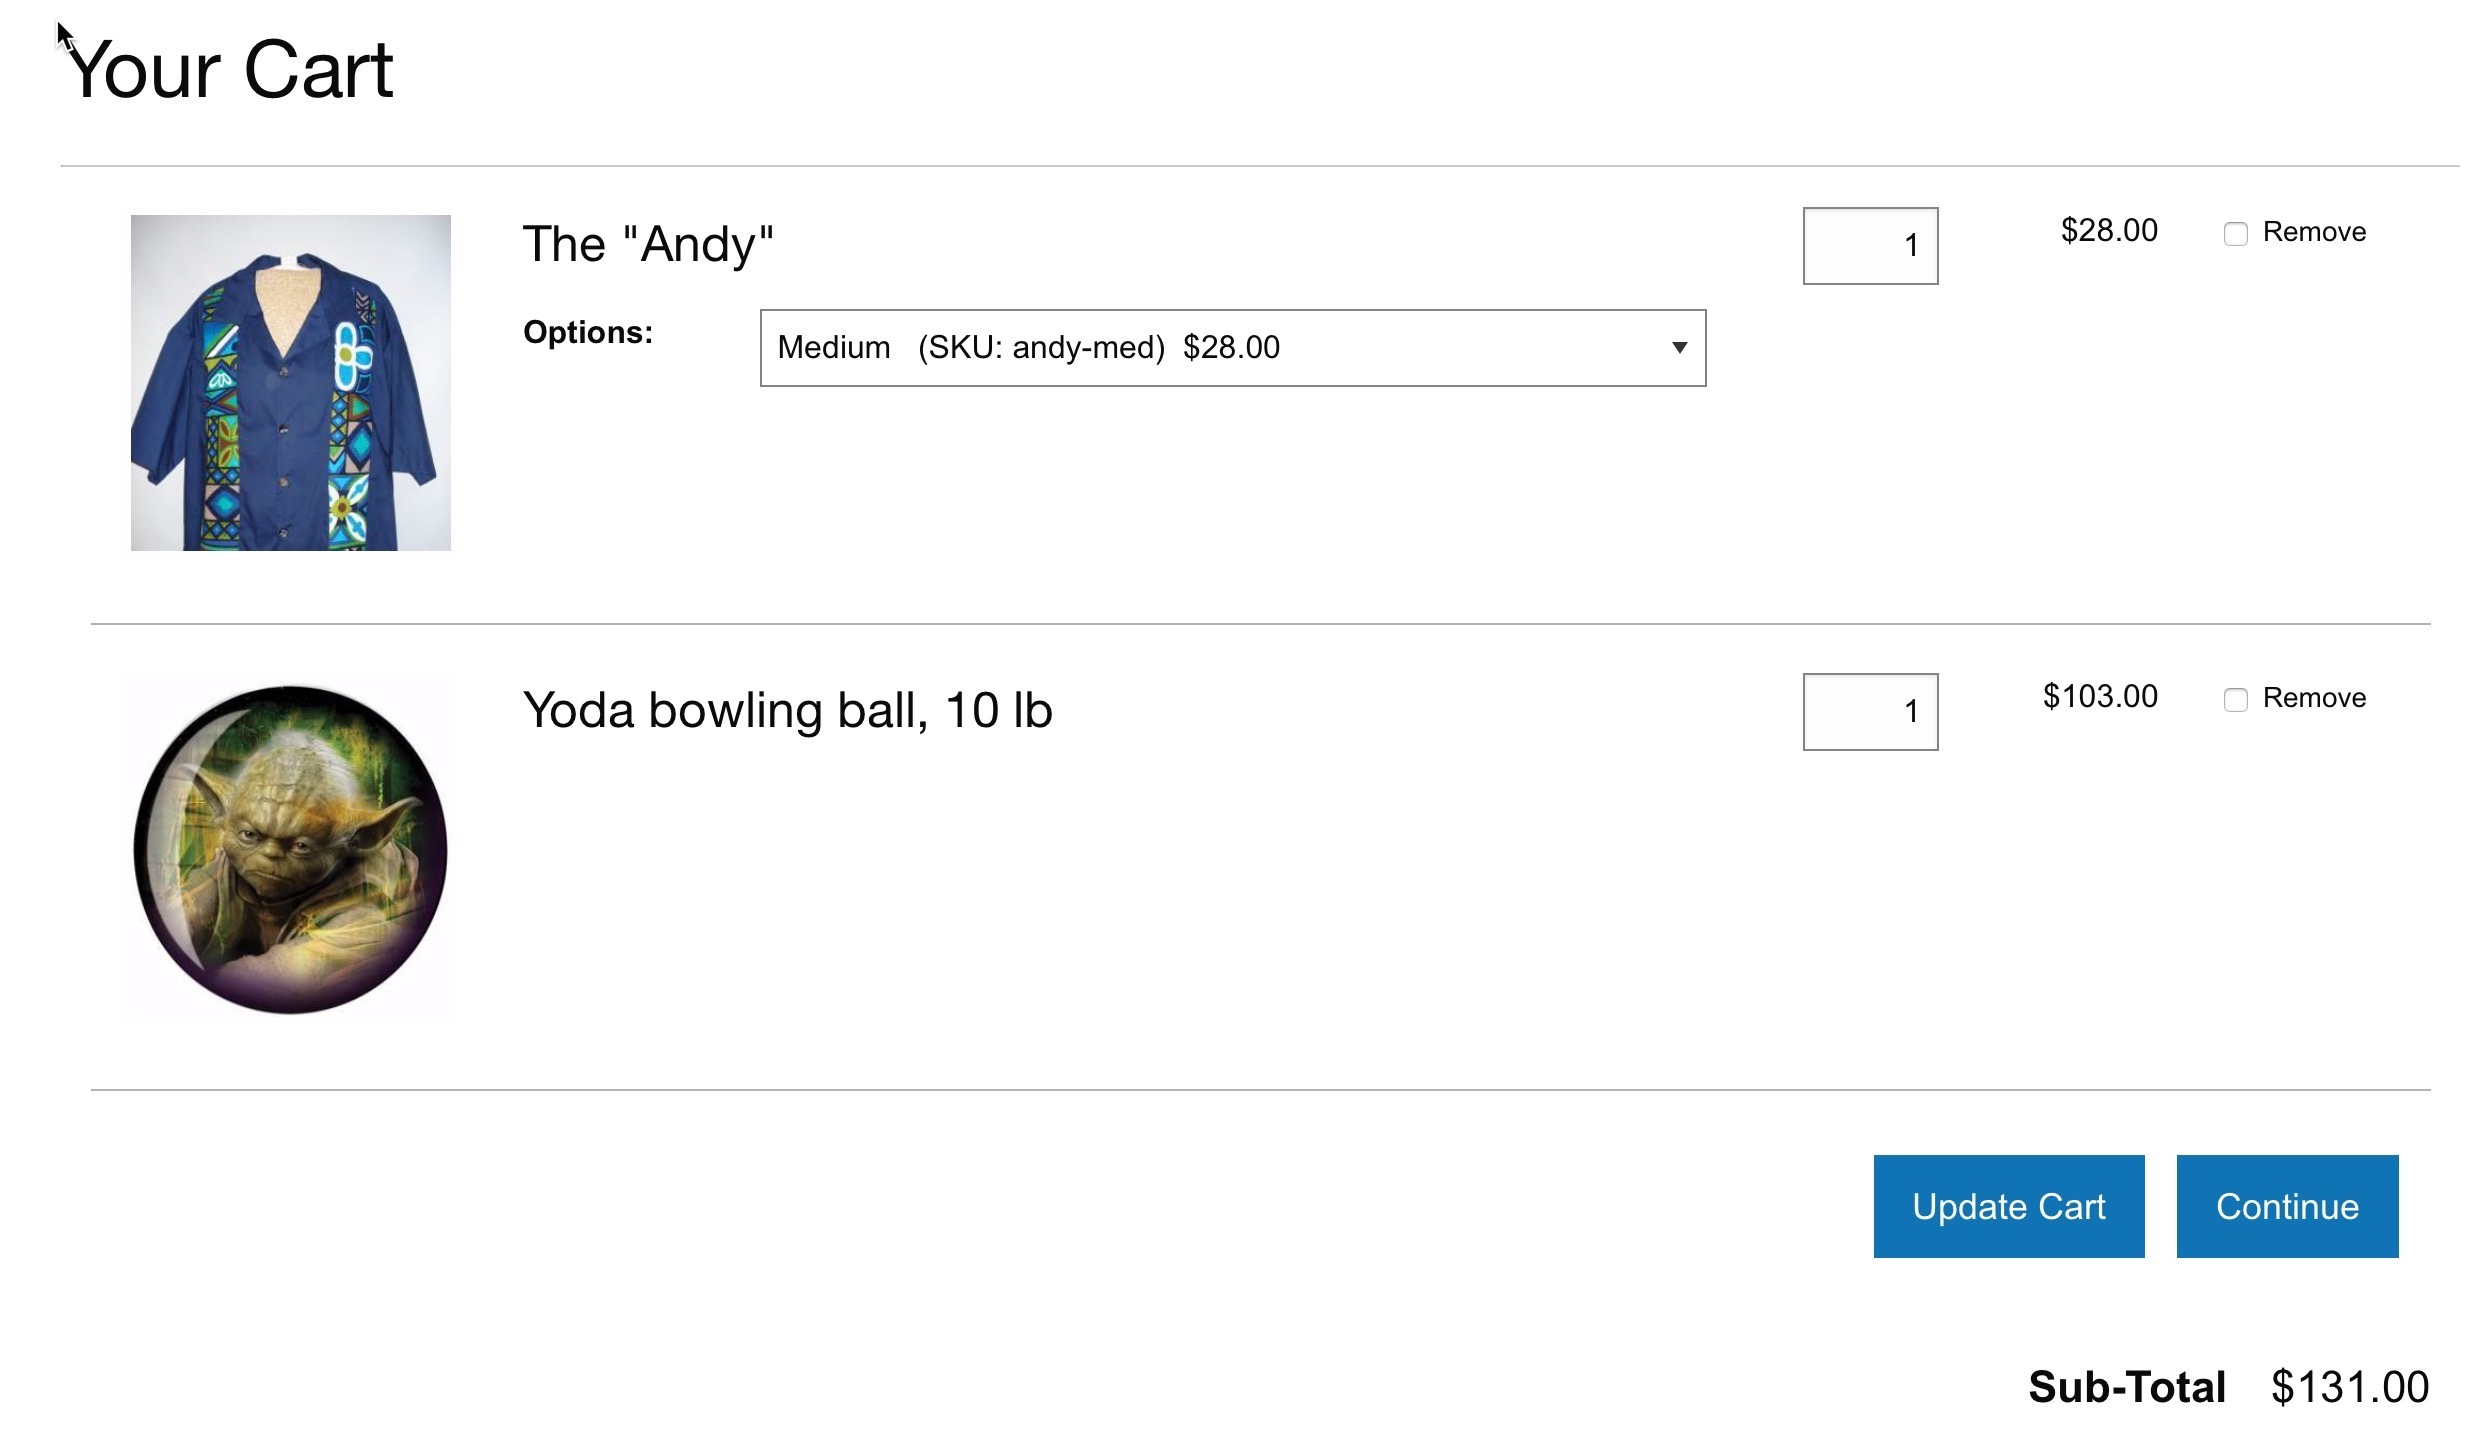
Both simple and optioned products are together in the same cart with a proper subtotal, all responding to quantity changes by clicking “Update Cart.”
We have the basics of the cart working in terms of the product information and calculations. Next, we’ll continue and configure CartThrob to handle the orders.
Have questions or comments about this course? Be sure to join the discussion and post in the ExpressionEngine Forums!